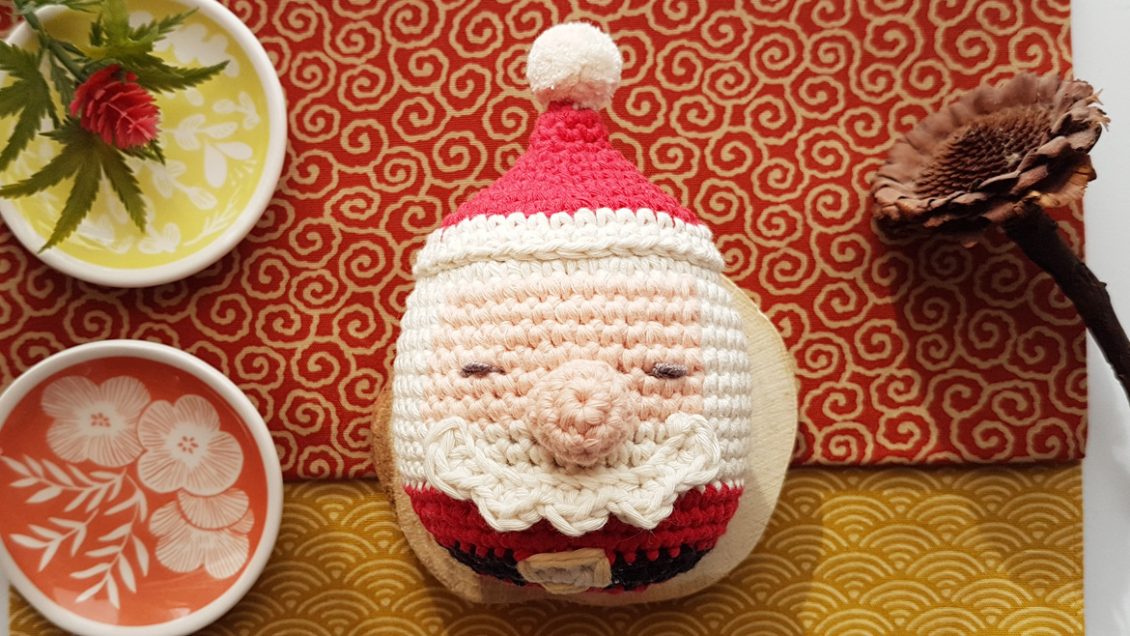
Looking for more X’mas ornaments to decorate your Christmas tree? This chubby Santa Clause is easy and fast to make.
Notes:
-Hook: 3.0mm (5/0 JNP standard hook) Or C2/D3 (US standard hook)
-Cotton yarn: Red, Creamy, Yellow, Black, Dark Brown (Fibra Natura Cottonwood Yarn was used in this project)
-Polyester filling
-Tapestry Needle
-Scissors
-Stitch Marker
-This pattern is worked in Spiral Rounds, except nose and hat
Abbreviation:
ch= Chain
st(s)= Stitch(es)
sl st= Slip Stitch
sc= Single Crochet
hdc= Half Double Crochet
dc= Double Crochet
crochet round= sl st into the first st of previous round, ch 1, sc in same st
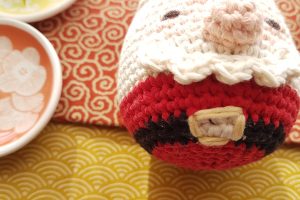
Head & Body
Starting with the creamy color yarn…
Round 1: Magic Ring (7)
Round 2: 2sc in each st around (14)
Round 3: *sc, 2sc in next stitch, repeat from *till round ends (21)
Round 4: *sc in next 2 sts, then 2sc in next st, repeat from * till round ends (28)
Round 5: *sc in next 3 sts, then 2sc in next st, repeat from *till round ends (35)
Round 6: *sc in next 4 sts, then 2sc in next st, repeat from *till round ends (42)
Round 7: sc around (42)
Round 8: *sc in next 5 sts, then 2sc in next st, repeat from *till round ends (49)
-Get ready the skin color yarn for the next round**
**For color change, you have to work at the stitch before the color change. If you are working on the single crochet, before finishing up the last stitch by yarn over the same color of yarn and pull through the 2 loops on the hook, you change the yarn into a new color and yarn over it and pull through the 2 loops on the hook as normal, then slip stitch in next stitch and continue the pattern.
Round 9-14: sc in next 18 sts with creamy color, change color from creamy to skin, sc in next 13 sts with skin color, change color from skin to creamy, sc in next 18 sts with creamy color (49)
Round 15-16: sc around with creamy color (49)
-Get ready the red color yarn for the Santa Clause Costume
Round 17: sc around with red color (49)
Round 18: Continue with red color, *sc in next 5 sts, then join next 2sc together, repeat from *till round ends (42)
Round 19: sc around with red color (42)
-Change the yarn to black color
Round 20: *sc in next 4 sts, then join next 2sc together, repeat from *2 times, sc in next 3 sts, then change color from black to creamy, sc in next st, then join next 2sc together, sc in next st, change color from creamy to black, sc in next 3 sts, then join next 2sc together, **sc in next 4 sts, then join next 2sc together, repeat from ** 1 time (35)
Round 21: sc in next 18 with black yarn, then change color to creamy, sc in next 3 sts, change color back to black, sc in next 14 sts (35)
-Change the yarn to red color
Round 22: *sc in next 3 sts, then join next 2sc together, repeat from *till round ends (28)
-Insert the filling
Round 23: *sc in next 2 sts, then join next 2sc together, repeat from *till round ends (21)
Round 23: *sc, then join next 2sc together, repeat from *till round ends (14)
Round 24: *join next 2sc together, repeat from *till round ends (7)
-Cast off, weave in ends
– For the belt, use the yellow yarn to sew around the edges of the white rectangle in the middle
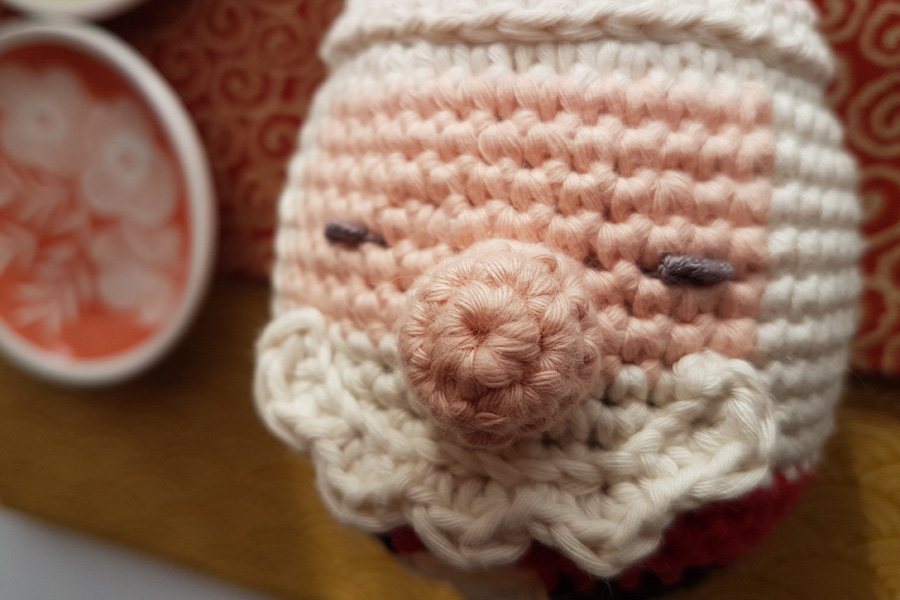
Nose
(Work in crochet rounds)
Using skin color yarn for the nose…
Round 1: Magic Ring (6)
Round 2: crochet round, 2sc in next st, *sc, 2sc in next st, repeat from *till round ends (12)
Round 3: crochet round, sc around (12)
-Cast off, leave a long tail for joining
*While attaching the nose on the face, remember to add some filling to the nose to keep it firm.
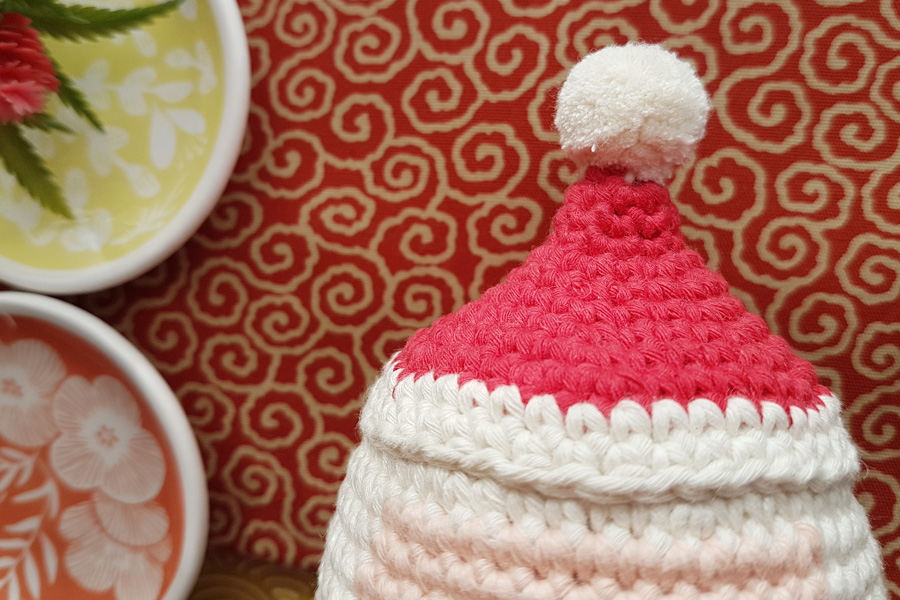
Hat
(work in crochet rounds)
Starting with the red color yarn…
Round 1: Magic Ring (6)
Round 2: crochet round, 2sc in next st, *sc, 2sc in next st, repeat from *till round ends (9)
Round 3: crochet round, sc around (9)
Round 4: crochet round, sc, 2sc in next st, *sc in next 2 sts, 2sc in next st, repeat from *till round ends (12)
Round 5: crochet round, 2sc in next st, *sc, 2sc in next st, repeat from *till round ends (18)
Round 6: crochet round, sc around (18)
Round 7: crochet round, sc, 2sc in next st, *sc in next 2 sts, 2sc in next st, repeat from *till round ends (24)
Round 8: crochet round, sc in next 2 sts, 2sc in next st, *sc in next 3 sts, 2sc in next st, repeat from *till round ends (30)
Round 9: crochet round, sc in next 3 sts, 2sc in next st, *sc in next 4 sts, 2sc in next st, repeat from *till round ends (36)
Round 10: crochet round, sc in next 4 sts, 2sc in next st, *sc in next 5 sts, 2sc in next st, repeat from *till round ends (42)
-Change the yarn color to creamy
Round 11- 12: crochet round, sc around (42)
Mini Pompom
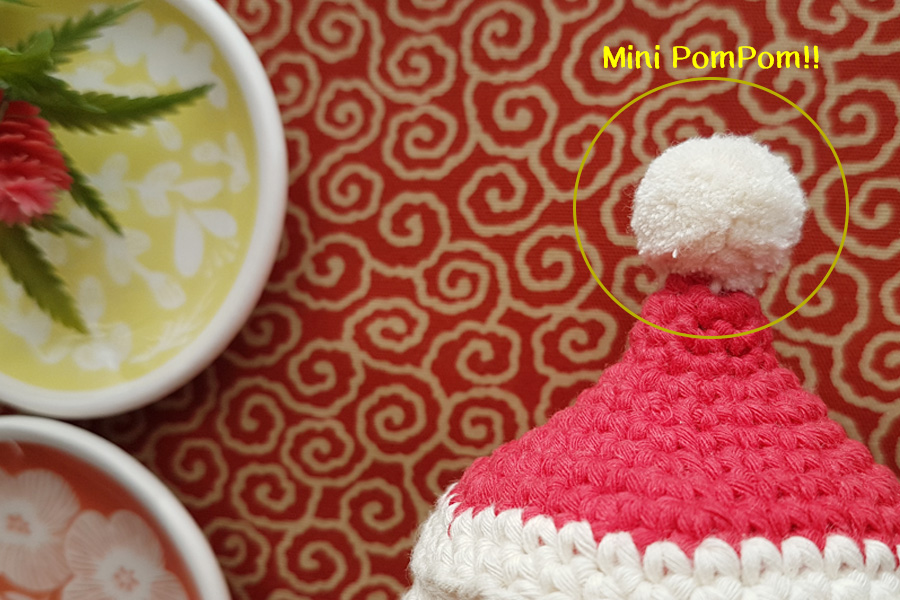
The last step to finish the hat is to make a mini pompom on the top of the hat. It is easy to make, what you need are a fork and a pair of scissors. I followed the link Here which is by Red Ted Art to make my mini pompom.
After you have made your mini pompom, just use the same color of yarn and assembly it on the tip of the hat.
-Attach the hat to the head
Beard
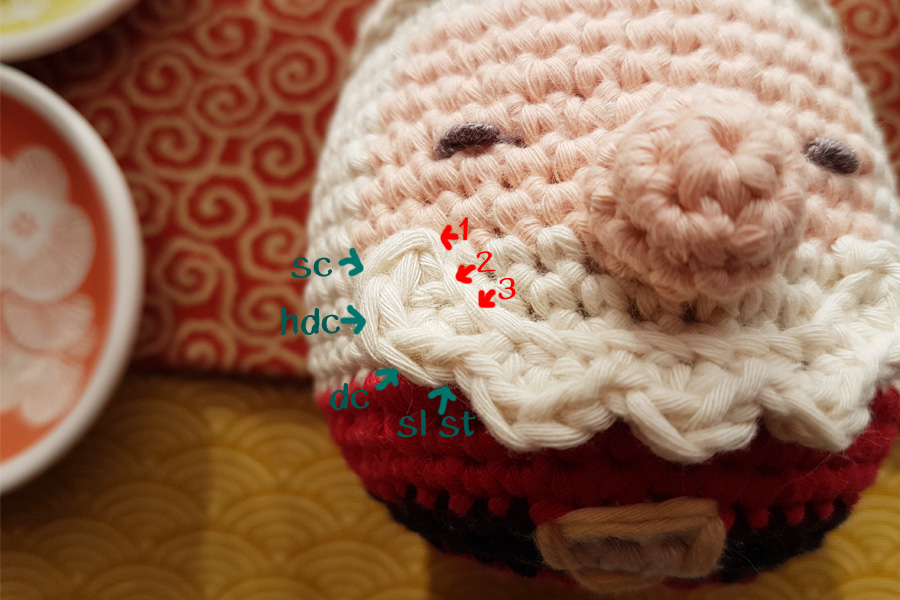
Step 1: ch 16
Step 2: Start at the second ch and work 3 chs as a group
Step 3: sc in first ch, hdc & dc in second ch, sl st in third ch
Step 4: Repeat Step 3 till the end
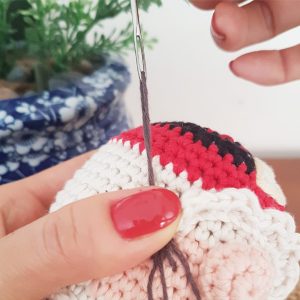
Step 5: Cast off, leave a long tail and sew the beard under the nose shown as the picture
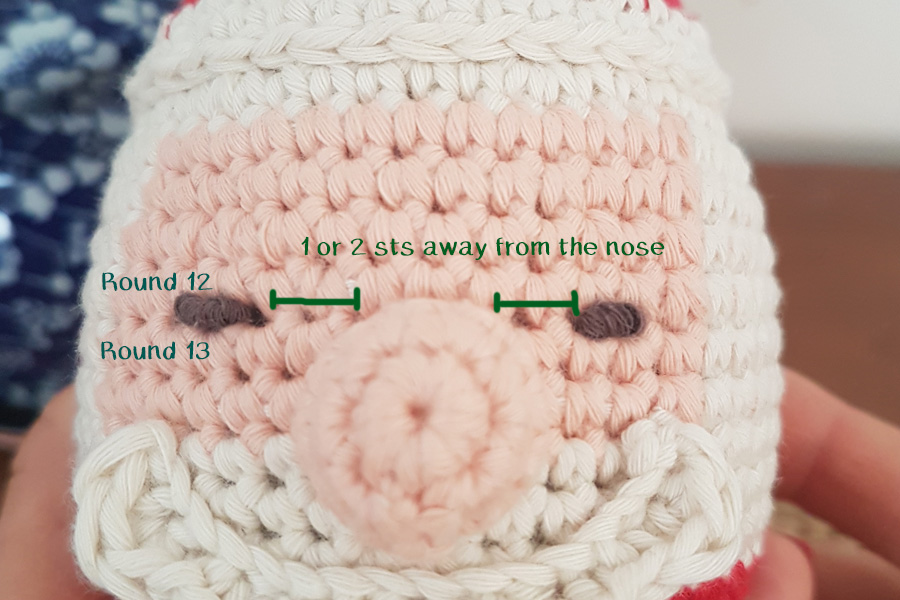
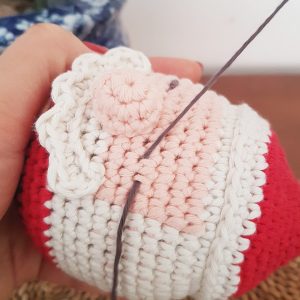
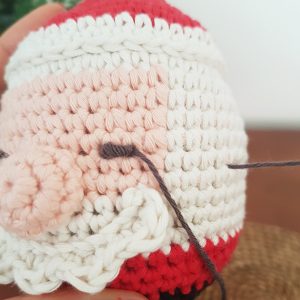
Eyes
Work between round 12 & 13, 1 or 2 sts away from the nose
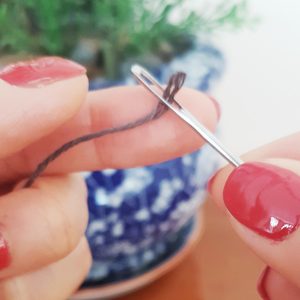
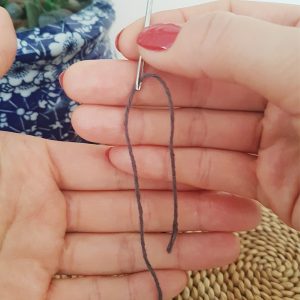
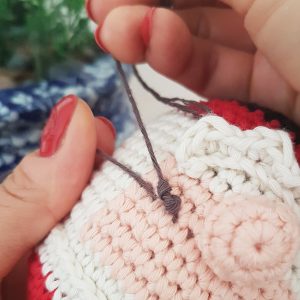
Step 1: Cut out a 20cm dark brown yarn and because the yarn is a bit thick, I divided it into 2 thinner yarns

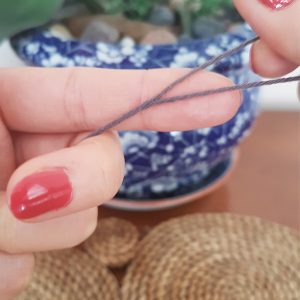
Step 2: Use 1 thinner yarn, goes through the loop on the tapestry needle, leave one side shorter than the other side
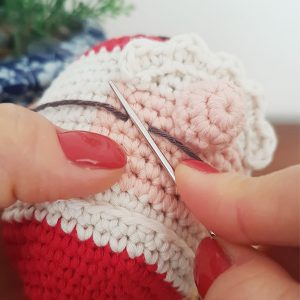
Step 3:
-
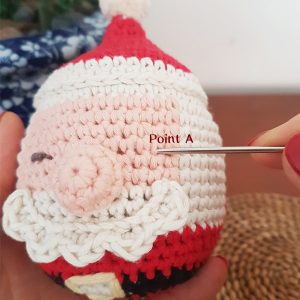
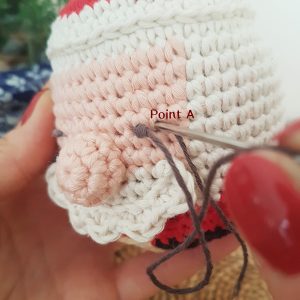
- Position the needla at Point A
-
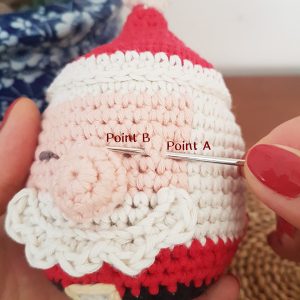
- Needle goes through from Point A to Point B (about 1.5 sts)
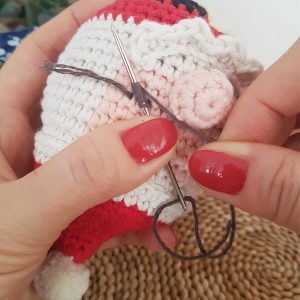
-
- Pull the needle and leave a short tail
-
- Place the needle between the points
-

- Yarn roll over the needle 5 times
-
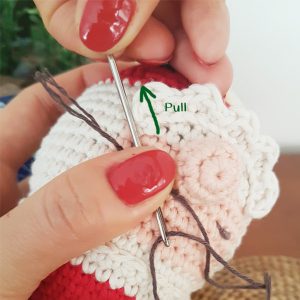
- Pull the needle
-
- The eye started to be formed
-
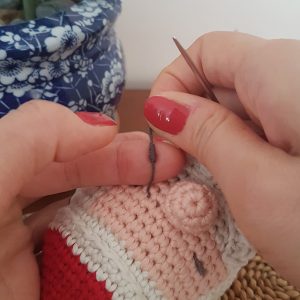
- Adjust the eye nicely
-
- Needle goes through Point A again
-
- End at any hole
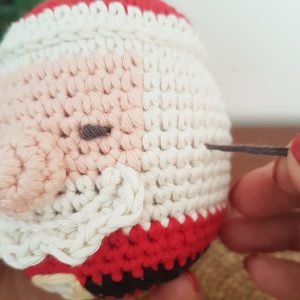
Join the short tail together, make a tight knot, cast off the tails
Now, you can attach a string close to the top of the hat and hang it up on your Christmas tree!!
Just make as many as you like and decorate all on your tree. I hope during crocheting this Santa Clause, it does bring you a lot of joys! Looking forwards to seeing your own made Xmas Santa Clause Ornament!
Please follow me for the latest crochet creations 🙂 See you next time!
P.S. I just started to write my own patterns, I know there is a lot of room for improvement, so please, if you have any questions or advice, don’t hesitate to contact me, I would love to hear from you! 🙂
Related posts
Hot Air Balloon Crochet Pattern

Santa Claus Christmas Ornament (Free Pattern)
Unicorn Crochet Wrist Rest Cushion (Free Crochet Pattern)
Cinderella Crochet Pattern
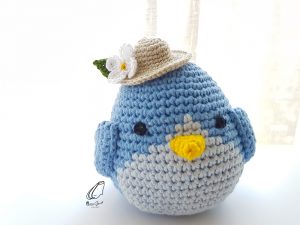
Twitter Bird Crochet Pattern
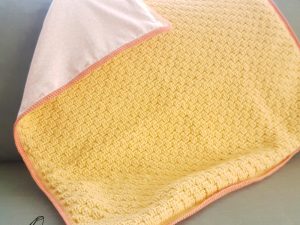
Basket Weave Stitch Baby Blanket
Studio Ghibli Boh Door Stopper (Free Crochet Pattern)
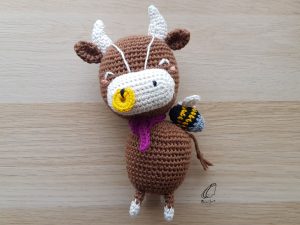
Year of the Ox – Mr. Ox Crochet Pattern
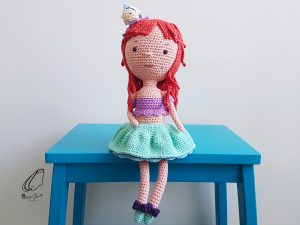
Ariel Crochet Pattern

Studio Ghibli Ootori-Sama Door Stopper (Free Crochet Pattern)
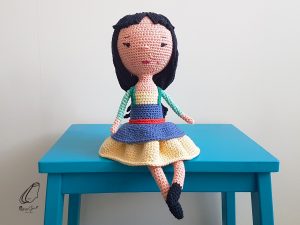
Mulan Crochet Pattern
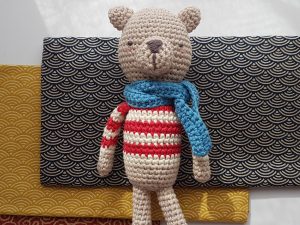
Teddy Jack (Free Crochet Pattern)
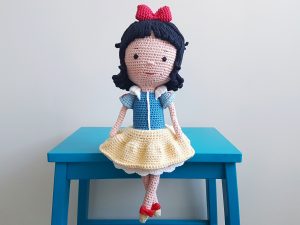
Snow White Crochet Pattern
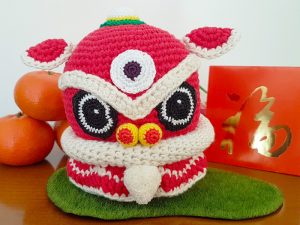
Lion Head for Lion Dance (Free Crochet Pattern)
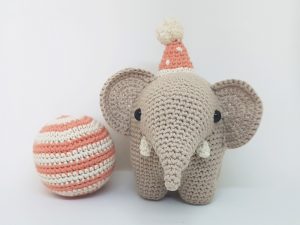
Adorable Elephant (Free Crochet Pattern)
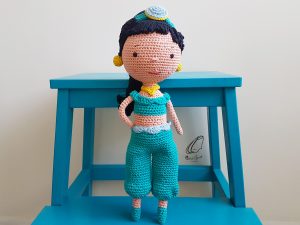
Jasmine Crochet Pattern
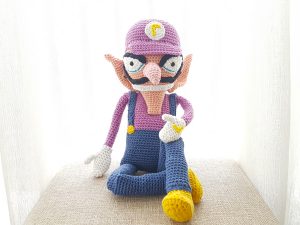
Waluigi Crochet Doll / Wrist Cushion
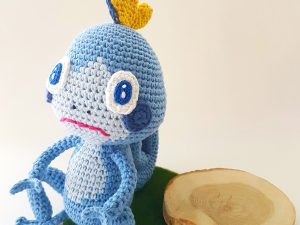
Crochet of Sobble from Pokemon
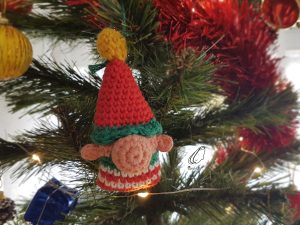
Mini Elf Christmas Ornament ( Free Pattern)
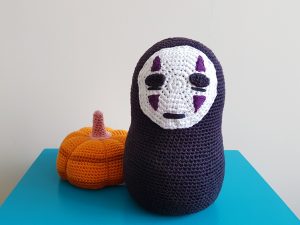
Studio Ghibli No-Face Crochet Door Stopper (Free Crochet Pattern)

Popular Posts
 Unicorn Crochet Wrist Rest Cushion (Free Crochet Pattern)
  Crochet Magic Ring for Beginner
  Jasmine Crochet Pattern
  Lion Head for Lion Dance (Free Crochet Pattern)
  Crochet Round: Magic Ring ends with Slip Stitch
 Products
-
 Year of the Ox - Mr. Ox C...
$5.00
Year of the Ox - Mr. Ox C...
$5.00
-
 Twitter Bird Crochet Pattern
$2.00
Twitter Bird Crochet Pattern
$2.00
-
 Mulan Crochet Pattern
$5.00
Mulan Crochet Pattern
$5.00
-
 Jasmine Crochet Pattern
$5.00
Jasmine Crochet Pattern
$5.00
-
 Ariel Crochet Pattern
$5.00
Ariel Crochet Pattern
$5.00