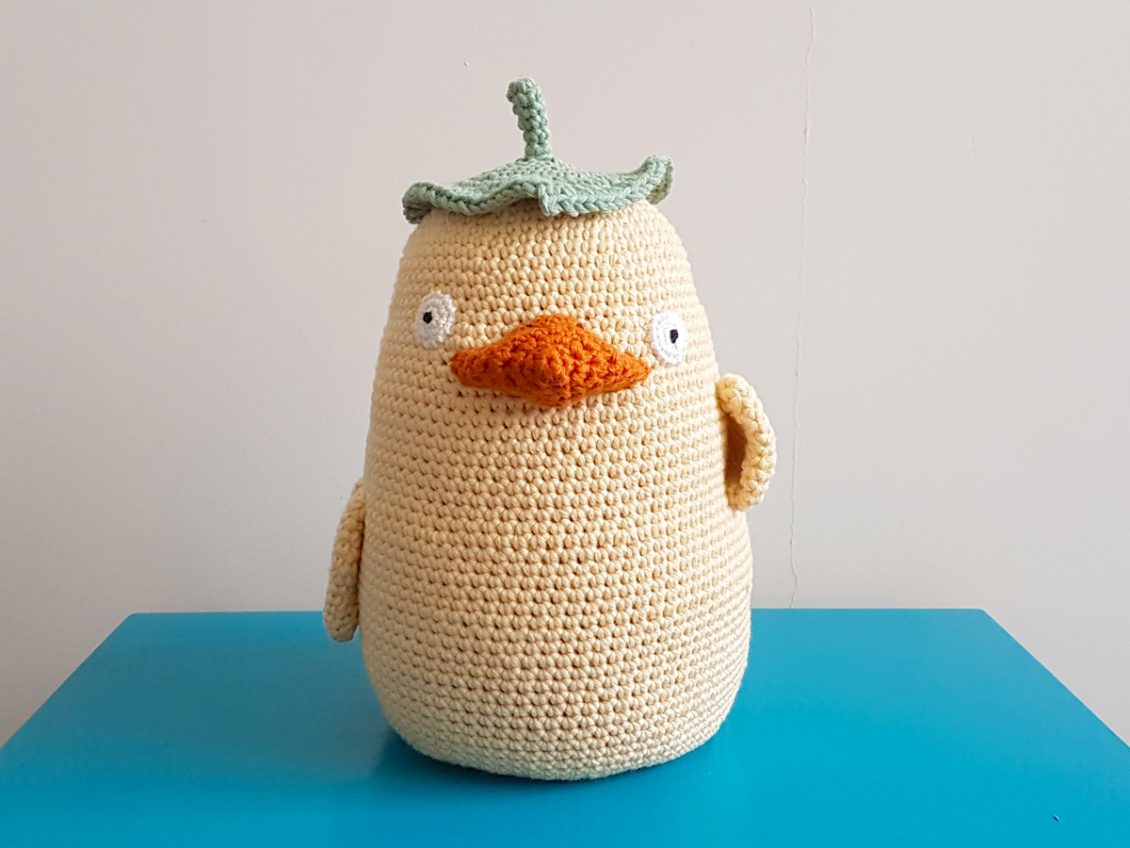
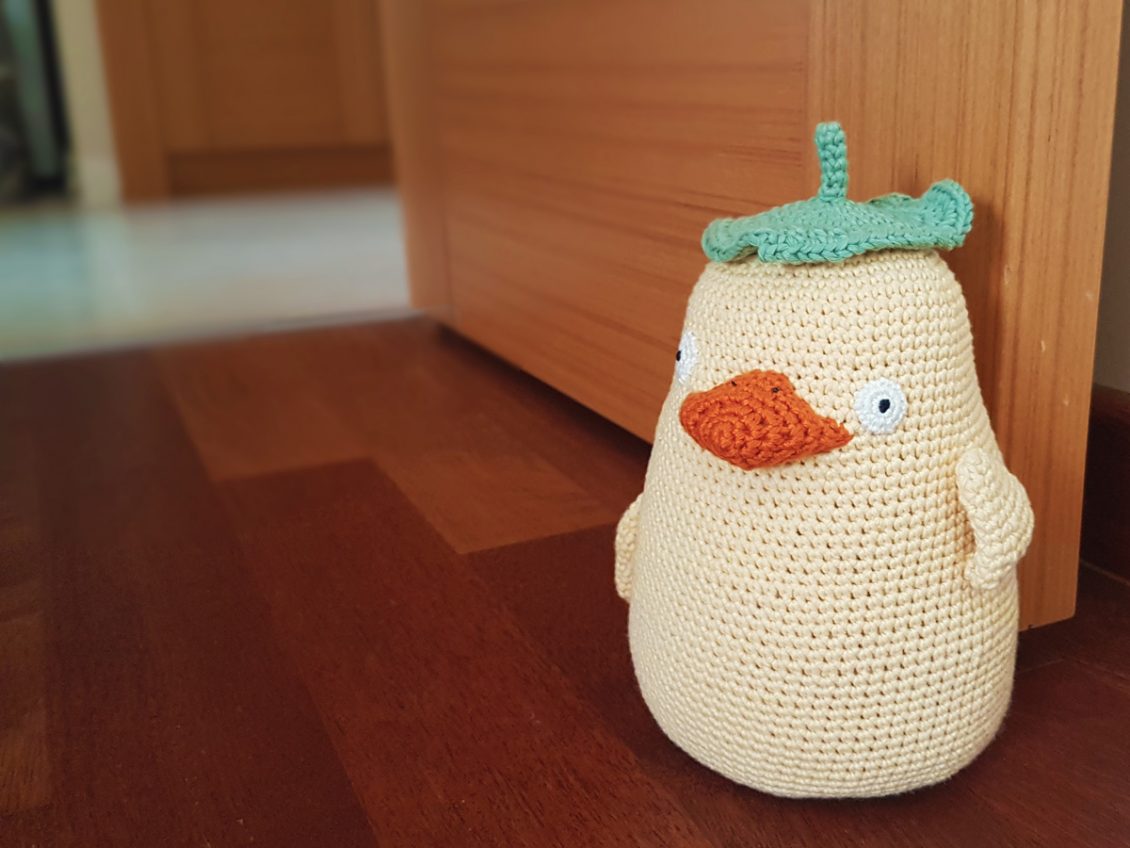
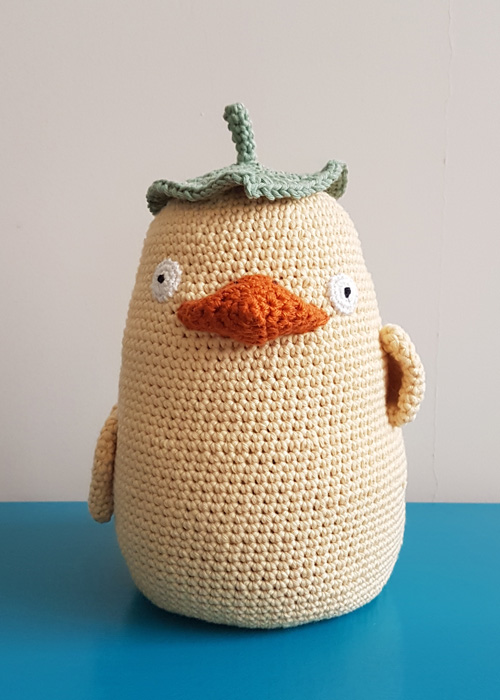
After making No-Face & Boh, I have decided to make Ootori-Sama to complete my Spirited Away Door Stopper set. Ootori-Sama, sometimes referred as ‘the yellow duck’, are the clients of the Bathhouse in Spirited Away. They are minor characters in the film but they can be your major door guard at home!
Notes
-Hooks: 3.5mm (6/0 JNP standard hook Or E4 US standard hook); And 2.5mm (4/0 JNP standard hook Or B1/C2 US standard hook ); And 0.85mm (0.9mm JNP lace hook Or US steel hook 13)
-Cotton Yarns: Yellow, Pumpkin Orange & Green; Lace Yarn: White
– Embroidery Thread: Black
-Tapestry Needle
-Sewing Needle
-Scissors
-Stitch Marker
-Polyester filling
-Beans or Rice (White bean is using in this project, about 1.5kg)
-This pattern is worked in both Crochet Rounds and Spiral Rounds
Abbreviation
ch(s)= Chain(s)
st(s)= Stitch(es)
sl st= Slip Stitch
sc= Single Crochet
hdc= Half Double Crochet
dc= Double Crochet
tr= Treble Crochet
Inc= 2sc in next st
Dec= Join next 2 single crochet together
blsc = back loop single crochet
Head & Body
Use yellow yarn with 3.5mm crochet hook,
Rd 1: Magic Ring [7]
Rd 2: 2sc in each st around [14]
Rd 3: *sc, Inc, repeat from * till round ends [21]
Rd 4: *sc in next 2 sts, Inc, repeat from * till round ends [28]
Rd 5: *sc in next 3 sts, Inc, repeat from * till round ends [35]
Rd 6: *sc in next 4 sts, Inc, repeat from * till round ends [42]
Rd 7: sc around [42]
Rd 8: *sc in next 5 sts, Inc, repeat from * till round ends [49]
Rd 9: sc around [49]
Rd 10: *sc in next 6 sts, Inc, repeat from * till round ends [56]
Rd 11 – 12: sc around [56]
Rd 13: *sc in next 7 sts, Inc, repeat from * till round ends [63]
Rd 14 – 17: sc around [63]
Rd 18: *sc in next 8 sts, Inc, repeat from * till round ends [70]
Rd 19 – 22: sc around [70]
Rd 23: *sc in next 9 sts, Inc, repeat from * till round ends [77]
Rd 24 – 32: sc around [77]
Rd 33: *sc in next 10 sts, Inc, repeat from * till round ends [84]
Rd 34 – 47: sc around [84]
Rd 48: *sc in next 10 sts, Dec, repeat from * till round ends [77]
Rd 49: sc around [77]
Rd 50: *sc in next 9 sts, Dec, repeat from * till round ends [70]
Rd 51: sc around [70]
Rd 52: *sc in next 8 sts, Dec, repeat from * till round ends [63]
Rd 53: *sc in next 7 sts, Dec, repeat from * till round ends [56]
Rd 54: *sc in next 6 sts, Dec, repeat from * till round ends [49]
Rd 55: *sc in next 5 sts, Dec, repeat from * till round ends [42]
Rd 56: *sc in next 4 sts, Dec, repeat from * till round ends [35]
-Fill up with beans or rice
Rd 57: *sc in next 3 sts, Dec, repeat from * till round ends [28]
Rd 58: *sc in next 2 sts, Dec, repeat from * till round ends [21]
Rd 59: *sc in next 1 sts, Dec, repeat from * till round ends [14]
-Fill up with more beans or rice
Rd 60: Dec till round ends [7]
-Cast off & weave in ends
Try to fill up with as much beans/ rice as possible, it will affect the shape if it is too loose.
Wings (2 pieces)
Use yellow yarn with 3.5mm crochet hook,
Rd 1: Magic Ring [6]
Rd 2: *sc, Inc, repeat from * till round ends [9]
Rd 3: sc around [9]
Rd 4: *sc in next 2 sts, Inc, repeat from * till round ends [12]
Rd 5 -6: sc around [12]
Rd 7: *sc, Inc, repeat from * till round ends [18]
Rd 8 – 9: sc around [18]
Rd 10: *sc in next 4 sts, Dec, repeat from * till round ends [15]
Rd 11 – 12: sc around [15]
-Leave a tail for assembling later and cast off
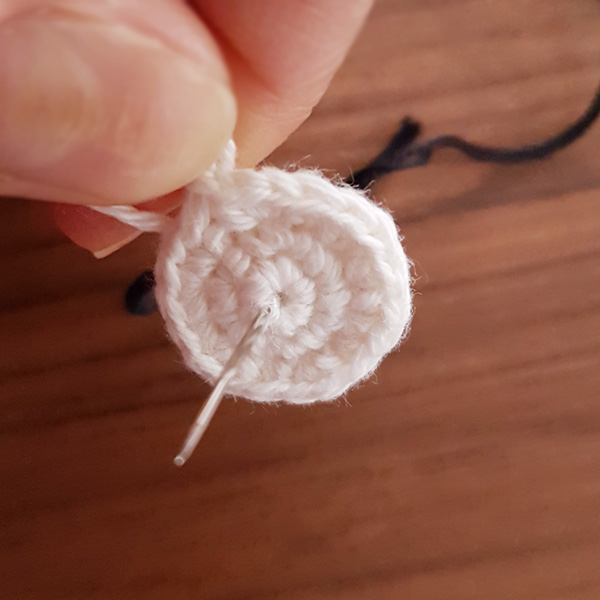
Eyes (2 pieces)
Use white lace yarn with 0.85mm hook,
Work in crochet rounds,
Rd 1: Magic Ring, sl st [6]
Rd 2: ch 1, 2sc in same st, 2sc in each st around, sl st [12]
Rd 3: ch 1, sc in same st, Inc, *sc in next st, Inc, repeat from * till round ends, sl st [18]
-Leave a tail for assembling later and cast off
Use black embroidery thread to sew a knot stitch onto the middle part the eye:
-
- Insert the needle at the edge of the loop
-
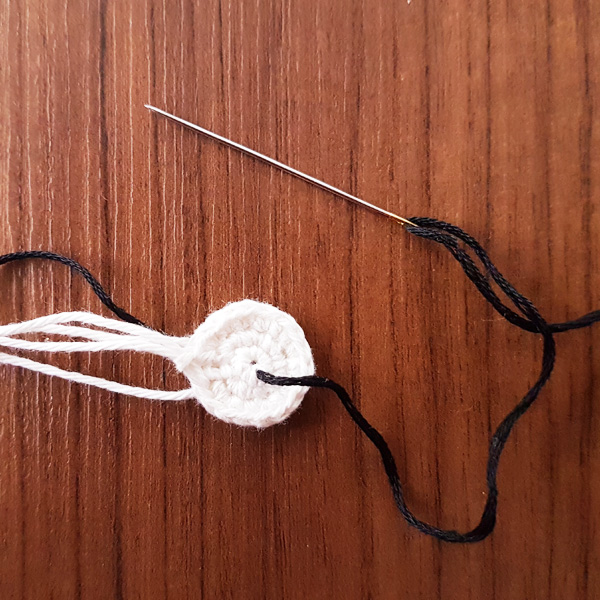
- Pull the thread through
-
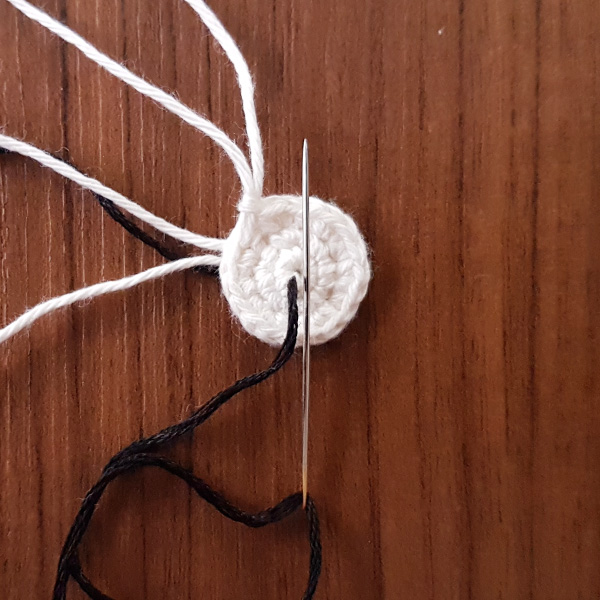
- Thread against the needle
-
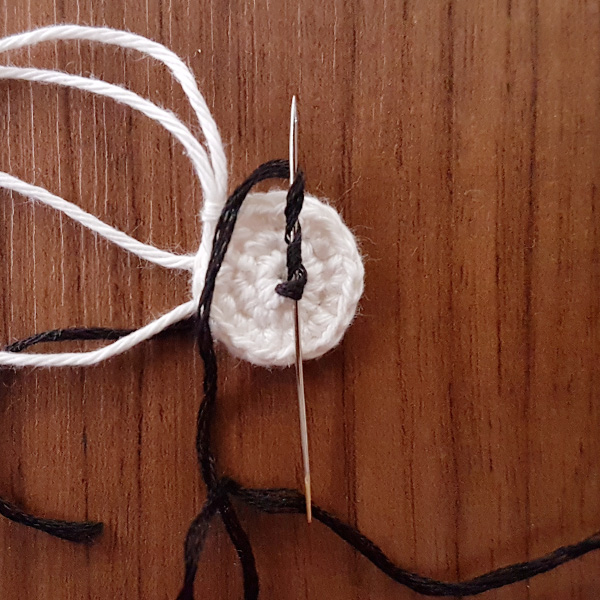
- Wrap the thread around the needle 3 times
-

- Pull up the needle
-
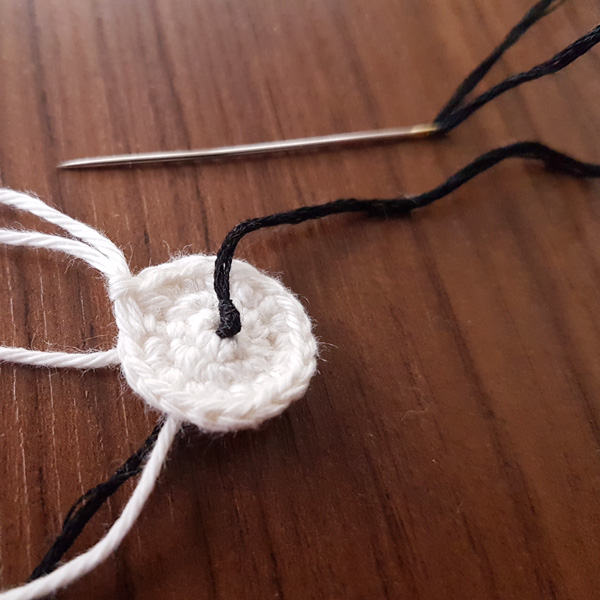
- Push down the knot at the bottom
-
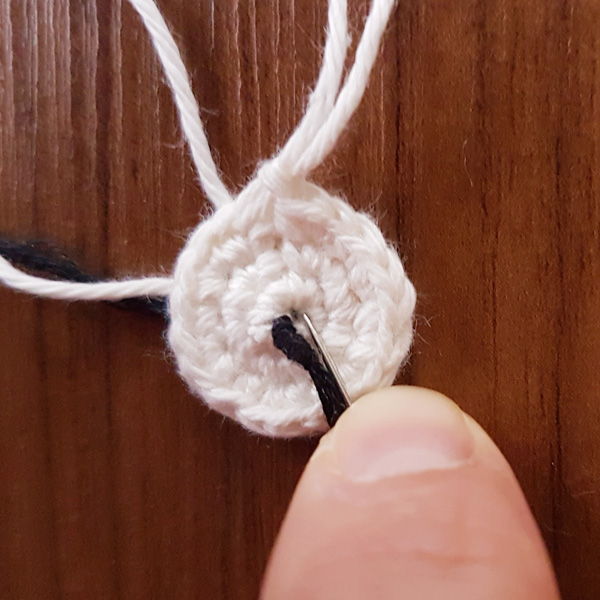
- Insert the needle into the other side of the edge
-
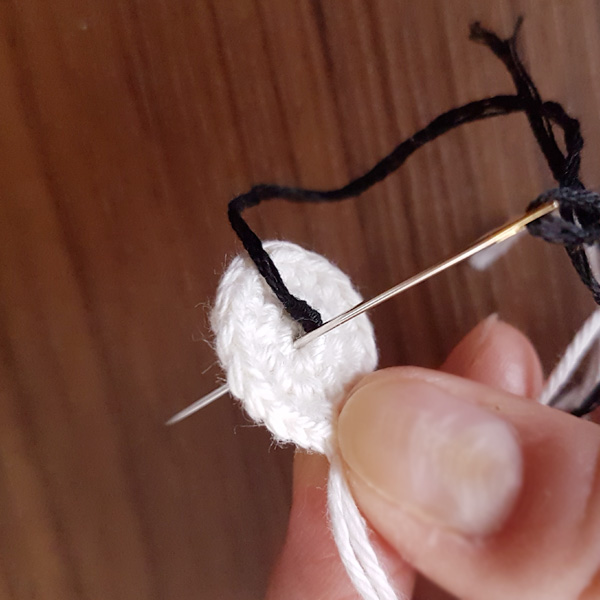
- Pull the needle from the back
Leaf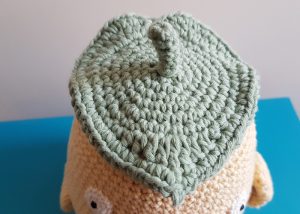
Use green yarn, start with 2.5mm crochet hook,
Work in crochet rounds,
Rd 1: Magic Ring, sl st [5]
Rd 2 – 5: ch 1, sc in same st, sc around, sl st [5]
-Change crochet hook to 3.5mm
Rd 6: ch 1, blsc in same st, blsc around, sl st [5]
Rd 7: ch 1, 2sc in same st, 2sc in each st around, sl st [10]
Rd 8: ch 1, sc in same st, Inc, *sc, Inc, repeat from * till round ends [15]
Rd 9: ch 1, sc in same st, sc, Inc, * sc in next 2 sts, Inc, repeat from * till round ends, sl st [20]
Rd 10: ch 1, sc in same st, sc in next 2 sts, Inc, *sc in next 3 sts, Inc, repeat from * till round ends, sl st [25]
Rd 11: ch 1, sc in same st, sc in next 3 sts, Inc, *sc in next 4 sts, Inc, repeat from * till round ends, sl st [30]
Rd 12: ch 1, sc in same st, sc in next 3 sts, Inc, *sc in next 4 sts, Inc, repeat from * till round ends, sl st [36]
Rd 13: ch 1, sc in same st, 2hdc in each of next 4 sts, hdc in next 3 sts, sc in next 5 sts, hdc in next 2 sts, dc in next 2 sts, 2tr in next st, dc in next 2 sts, hdc in next 2 sts, sc in next 6 sts, hdc in next 3 sts, 2hdc in each of next 4 sts, sc, sl st [45]
Rd 14: ch 1, skip 1st st, 2hdc in each of next 21 sts, ch 2, sl st into 2nd ch from hook, 2hdc in each of next 20 sts, skip last st, sl st [82]
-Leave a tail for assembling and cast off
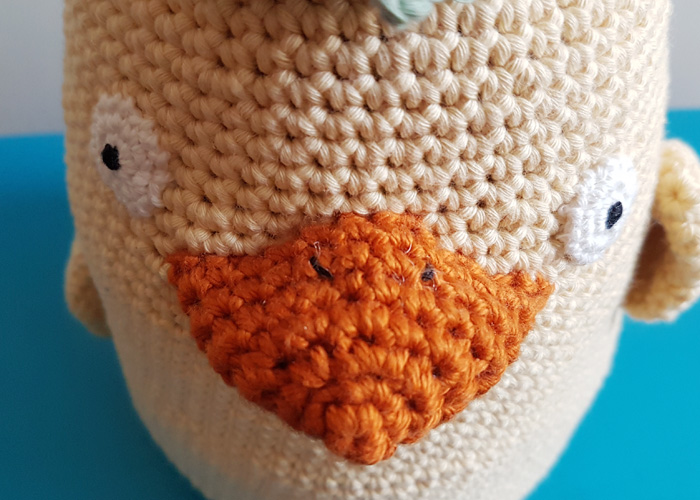
Beak
Use pumpkin orange yarn with 3.5mm crochet hook,
Work in crochet rounds,
Rd 1: Magic Ring, sl st [4]
Rd 2: ch 1, sc in same st, Inc, *sc, Inc, repeat from * till round ends, sl st [6]
Rd 3: ch 1, 2sc in same st, 2sc in each st around, sl st [12]
Rd 4: ch 1, 2sc in same st, sc, Inc, Inc, sc in next 4 sts, Inc, Inc, sc, Inc, sl st [18]
Rd 5: ch 1, sc in next 5 sts, Inc, sc in next 6 sts, Inc, sc in next 5 sts, sl st [20]
Rd 6: ch 1, sc in same st, sc around, sl st [20]
Rd 7: ch 1, sc in same st, sc in next 3 sts, Inc, Inc, sc in next 8 sts, Inc, Inc, sc in next 4 sts, sl st [24]
-Leave a tail for assembling later and cast off
!! For the beak
> the side with the tail facing downward;
> Fill up the beak with some polyester filling while sewing it onto the body to give it a steady appearance.
When all parts are ready, assemble them all on the main body.
Last but not least, use black embroidery thread to sew the nostrils onto the middle upper part of the beak.
 Happy Crocheting!!
2 thoughts on “Studio Ghibli Ootori-Sama Door Stopper (Free Crochet Pattern)”
Leave a Reply
Related posts
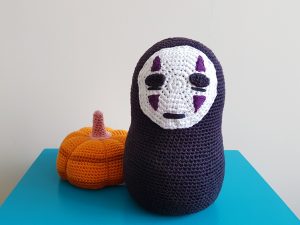
Studio Ghibli No-Face Crochet Door Stopper (Free Crochet Pattern)
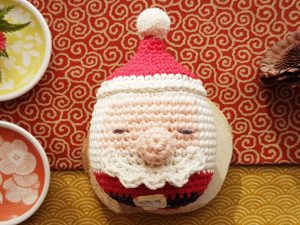
X’mas Santa Clause Ornament (Free Crochet Pattern)
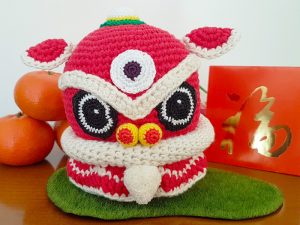
Lion Head for Lion Dance (Free Crochet Pattern)
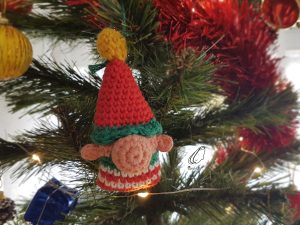
Mini Elf Christmas Ornament ( Free Pattern)
Hot Air Balloon Crochet Pattern
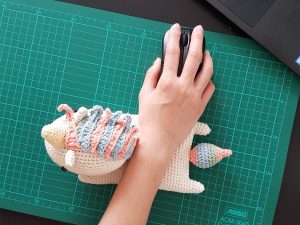
Unicorn Crochet Wrist Rest Cushion (Free Crochet Pattern)
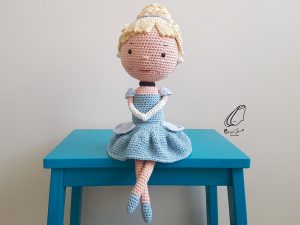
Cinderella Crochet Pattern
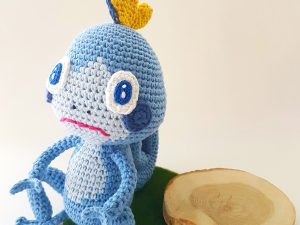
Crochet of Sobble from Pokemon
Studio Ghibli Boh Door Stopper (Free Crochet Pattern)
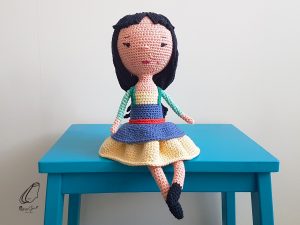
Mulan Crochet Pattern
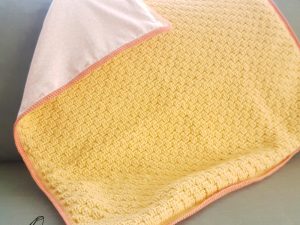
Basket Weave Stitch Baby Blanket
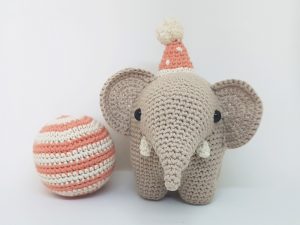
Adorable Elephant (Free Crochet Pattern)

Santa Claus Christmas Ornament (Free Pattern)
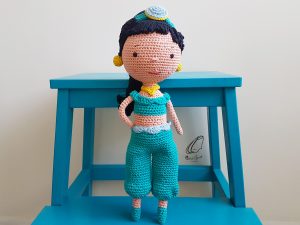
Jasmine Crochet Pattern
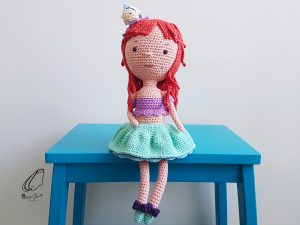
Ariel Crochet Pattern
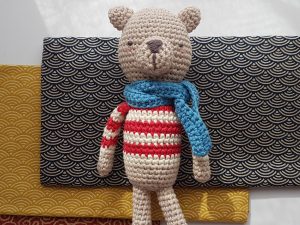
Teddy Jack (Free Crochet Pattern)
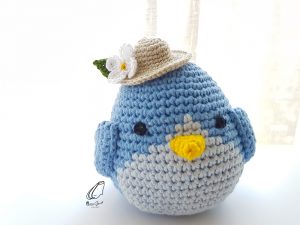
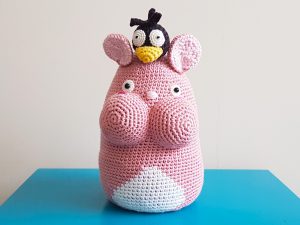
Twitter Bird Crochet Pattern
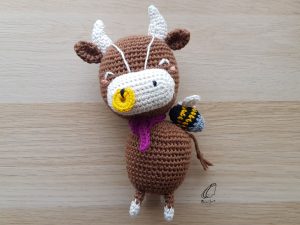
Year of the Ox – Mr. Ox Crochet Pattern

Snow White Crochet Pattern

Waluigi Crochet Doll / Wrist Cushion

Popular Posts
 Unicorn Crochet Wrist Rest Cushion (Free Crochet Pattern)
  Crochet Magic Ring for Beginner
  Jasmine Crochet Pattern
  Lion Head for Lion Dance (Free Crochet Pattern)
  Crochet Round: Magic Ring ends with Slip Stitch
 Products
-
 Year of the Ox - Mr. Ox C...
$5.00
Year of the Ox - Mr. Ox C...
$5.00
-
 Twitter Bird Crochet Pattern
$2.00
Twitter Bird Crochet Pattern
$2.00
-
 Mulan Crochet Pattern
$5.00
Mulan Crochet Pattern
$5.00
-
 Jasmine Crochet Pattern
$5.00
Jasmine Crochet Pattern
$5.00
-
 Ariel Crochet Pattern
$5.00
Ariel Crochet Pattern
$5.00
Pingback: Studio Ghibli Boh Door Stopper (Free Crochet Pattern) – One Zero Crochet
Thanks so much for the pattern! I loved making it 😀