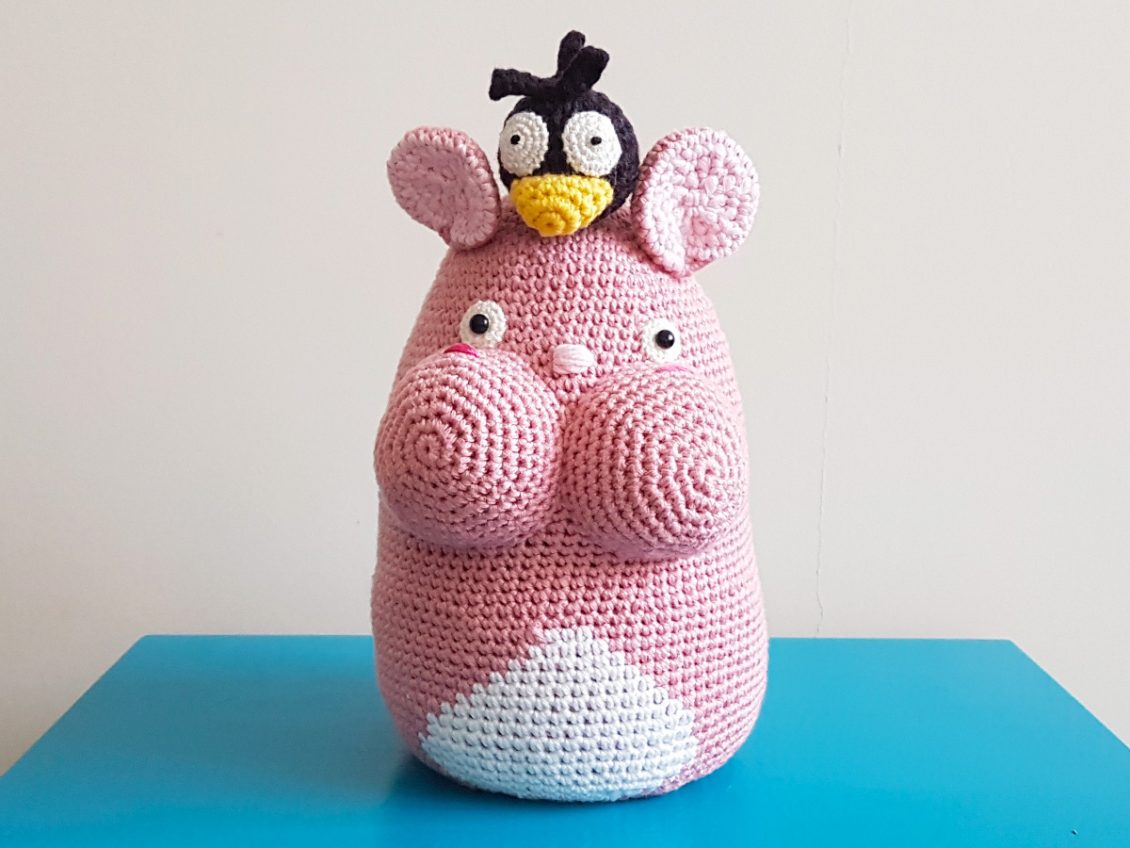
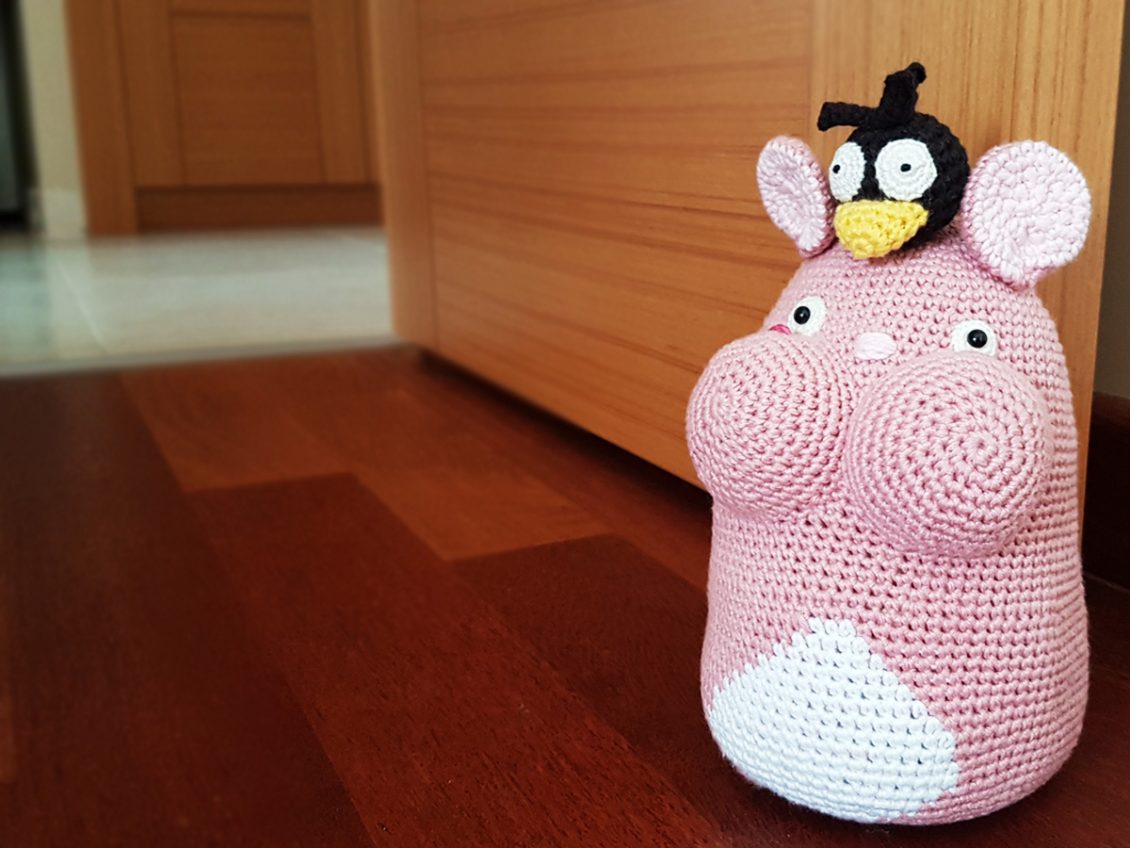
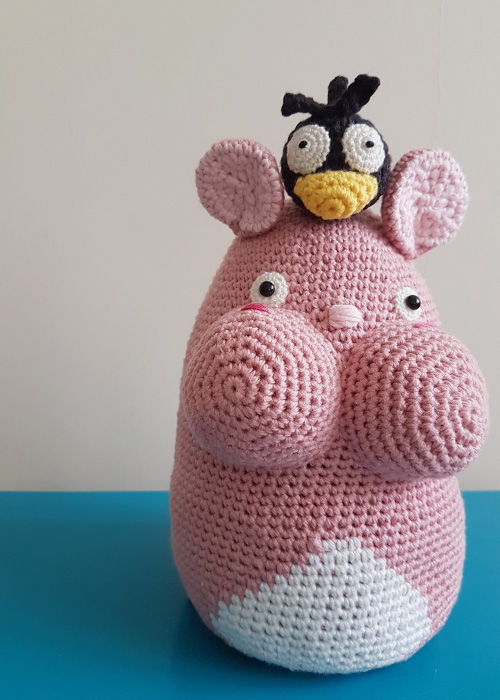
In case you haven’t seen this Japanese animated film, named “Spirited Away”, Boh was a large baby, I mean really HUGE, then one day he got shrank by his aunt and turned into a small grey mouse-like creature. After I have made the No-Face door stopper, No-Face looked so lonely standing by the door itself. Therefore, I planned to make it some friends, Boh & Ootori- Sama.
Notes
-Hooks: 3.5mm (6/0 JNP standard hook Or E4 US standard hook); And 0.85mm (0.9mm JNP lace hook Or US steel hook 13)
-Cotton Yarns: Dirty Pink, Pink, White, Black & Yellow; Lace Yarn: White
– Embroidery Thread: Black, Shape Pink & Pink
-Tapestry Needle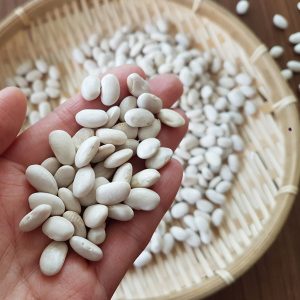
-Sewing Needle
-Scissors
-Stitch Marker
-Polyester filling
– A pair of plastic eyes (small size)
-Beans or Rice (White bean is using in this project, about 1.5kg)
-This pattern is worked in both Crochet Rounds and Spiral Rounds
Abbreviation:
ch(s)= Chain(s)
st(s)= Stitch(es)
sl st= Slip Stitch
sc= Single Crochet
Inc= 2sc in next st
Dec= Join next 2 single crochet together
Head & Body
Use dirty pink yarn & 3.5mm crochet hook,
Rd 1: Magic Ring (7)
Rd 2: 2sc in each st around (14)
Rd 3: *sc, Inc, repeat from * till round ends (21)
Rd 4: *sc in next 2 sts, Inc, repeat from * till round ends (28)
Rd 5: *sc in next 3 sts, Inc, repeat from * till round ends (35)
Rd 6: sc around (35)
Rd 7: *sc in next 4 sts, Inc, repeat from * till round ends (42)
Rd 8: sc around (42)
Rd 9: *sc in next 5 sts, Inc, repeat from * till round ends (49)
Rd 10 – 11: sc around (49)
Rd 12: *sc in next 6 sts, Inc, repeat from * till round ends (56)
Rd 13 – 14: sc around (56)
Rd 15: *sc in next 7 sts, Inc, repeat from * till round ends (63)
Rd 16 – 17: sc around (63)
Rd 18: *sc in next 8 sts, Inc, repeat from * till round ends (70)
Rd 19 – 22: sc around (70)
Rd 23: *sc in next 9 sts, Inc, repeat from * till round ends (77)
Rd 24 – 37: sc around (77)
Rd 38: *sc in next 10 sts, Inc, repeat from * till round ends (84)
Rd 39: sc around (84)
ATTENTION!!
{change w color} will be used to indicate changing dirty pink yarn into white yarn
{change dp color} will be used to indicate changing white yarn into dirty pink yarn
Rd 40: sc in next 41 sts, {change w color}, sc in next 3 sts, {change dp yarn}, sc in next 40 sts (84)
Rd 41: sc in next 40 sts, {change w color}, sc in next 5 sts, {change dp yarn}, sc in next 39 sts (84)
Rd 42: sc in next 39 sts, {change w color}, sc in next 7 sts, {change dp yarn}, sc in next 38 sts (84)
Rd 43: sc in next 38 sts, {change w color}, sc in next 9 sts, {change dp yarn}, sc in next 37 sts (84)
Rd 44: sc in next 37 sts, {change w color}, sc in next 11 sts, {change dp yarn}, sc in next 36 sts (84)
Rd 45: sc in next 36 sts, {change w color}, sc in next 13 sts, {change dp yarn}, sc in next 35 sts (84)
Rd 46: sc in next 35 sts, {change w color}, sc in next 15 sts, {change dp yarn}, sc in next 34 sts (84)
Rd 47 – 48: sc in next 34 sts, {change w color}, sc in next 17 sts, {change dp yarn}, sc in next 33 sts (84)
Rd 49 – 50: sc in next 33 sts, {change w color}, sc in next 19 sts, {change dp yarn}, sc in next 32 sts (84)
Rd 51: sc in next 34 sts, {change w color}, sc in next 17 sts, {change dp yarn}, sc in next 33 sts (84)
Rd 52: sc in next 35 sts, {change w color}, sc in next 15 sts, {change dp yarn},, sc in next 34 sts (84)
Rd 53: *sc in next 10 sts, Dec*, repeat ** 2 times, sc, {change w color}, sc in next 9 sts , Dec, sc, {change dp yarn}, sc in next 9 sts, Dec, *sc in next 10 sts, Dec*, repeat ** (77)
Rd 54: sc in next 35 sts, {change w yarn}, sc in next 9 sts, {change dp yarn}, sc in next 33 sts (77)
Rd 55: *sc in next 9 sts, Dec, repeat from * till round ends (70)
Rd 56: *sc in next 8 sts, Dec, repeat from * till round ends (63)
Rd 57: *sc in next 7 sts, Dec, repeat from * till round ends (56)
Rd 58: *sc in next 6 sts, Dec, repeat from * till round ends (49)
Rd 59: *sc in next 5 sts, Dec, repeat from * till round ends (42)
Rd 60: *sc in next 4 sts, Dec, repeat from * till round ends (35)
-Fill up with beans or rice
Rd 61: *sc in next 3 sts, Dec, repeat from * till round ends (28)
Rd 62: *sc in next 2 sts, Dec, repeat from * till round ends (21)
Rd 63: *sc in next 1 sts, Dec, repeat from * till round ends (14)
-Fill up with more beans or rice
Rd 64: Dec till round ends (7)
-Cast off & weave in ends
Try to fill up with as much beans/ rice as possible, it will affect the shape if it is too loose.
Cheeks (2 pieces)
Use dirty pink yarn,
Rd 1: Magic Ring (7)
Rd 2: 2sc in each st around (14)
Rd 3: *sc, Inc, repeat from * till round ends (21)
Rd 4: *sc in next 2 sts, Inc, repeat from * till round ends (28)
Rd 5: *sc in next 3 sts, Inc, repeat from * till round ends (35)
Rd 6: sc around (35)
Rd 7: *sc in next 4 sts, Inc, repeat from * till round ends (42)
Rd 8 – 10: sc around (42)
-Leave a tail for assembling later, cast off
Eyes for Boh (2 Pieces)
Use white lace yarn & 0.85mm crochet hook,
Work in crochet rounds,
Rd 1: Magic Ring, sl st (7)
Rd 2: ch 1, 2sc in same st, 2sc in each st around, sl st (14)
-Leave a tail for sewing onto the face later, cast off
-Pin the plastic eyes into the loop of the middle part of the eyes and set them aside for later use
Ears (2 pieces)
Start with dirty pink yarn & 3.5mm crochet hook,
Rd 1: Magic Ring (7)
Rd 2: 2sc in each st around (14)
Rd 3: *sc, Inc, repeat from * till round ends (21)
Rd 4: sc around (21)
Rd 5: *sc in next 2 sts, Inc, repeat from * till round ends (28)
Rd 6: sc around (28)
-Change yarn color from dirty pink to pink
-Leave a tail of dirty pink yarn for assembling later then cast off
Rd 7: sc around (28)
Rd 8: *sc in next 2 sts, Dec, repeat from * till round ends (21)
Rd 9: *sc in next st, Dec, repeat from * till round ends (14)
Rd 10: Dec till round ends (7)
-Cast off & weave in ends
Assemble all parts together.
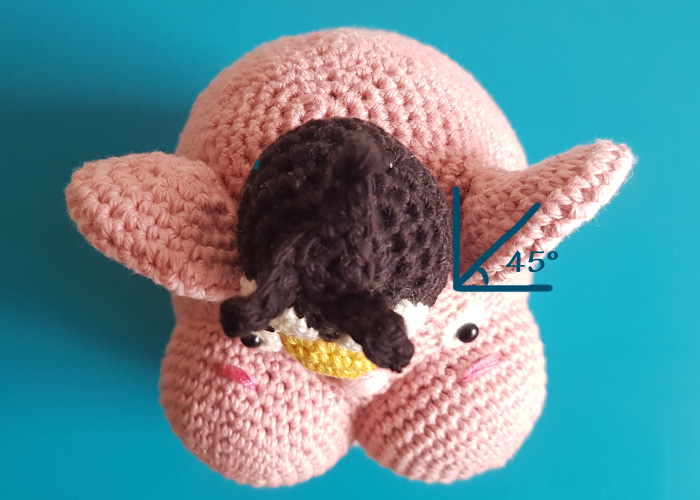
For the ears,
Pink yarn is facing outward (facing you and turn 45 degree outward) and remember to leave enough space between the eras for Yu-Bird;
 For the cheeks,
Begin with sewing 2/3 of the cheek onto the left/right hand side of the face, then filling up with polyester filling;
Use light pink embroidery thread sew a nose onto the face between the cheeks and shape pink thread to sew the blushes onto the cheeks.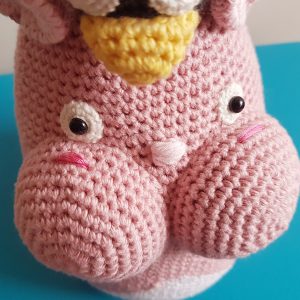
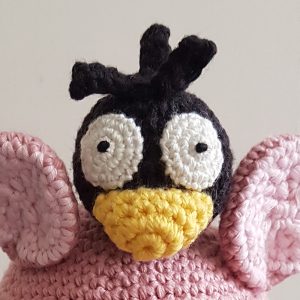
Yu-Bird (Yubaba’s Bird)
 Head & Body
Use black yarn with 3.5mm crochet hook,
Rd 1: Magic Ring (7)
Rd 2: 2sc in each st around (14)
Rd 3: *sc in next st, Inc, repeat from * till round ends (21)
Rd 4: sc around (21)
Rd 5: *sc in next 2 sts, Inc, repeat from * till round ends (28)
Rd 6 – 9: sc around (28)
Rd 10: *sc in next 2 sts, Dec, repeat from * till round ends (21)
Rd 11: *sc in next st, Dec, repeat from * till round ends (14)
-Fill up with polyester filling
Rd 12: Dec till round ends (7)
-Cast off & weave in ends
Hair
Use black yarn with 3.5mm crochet hook,
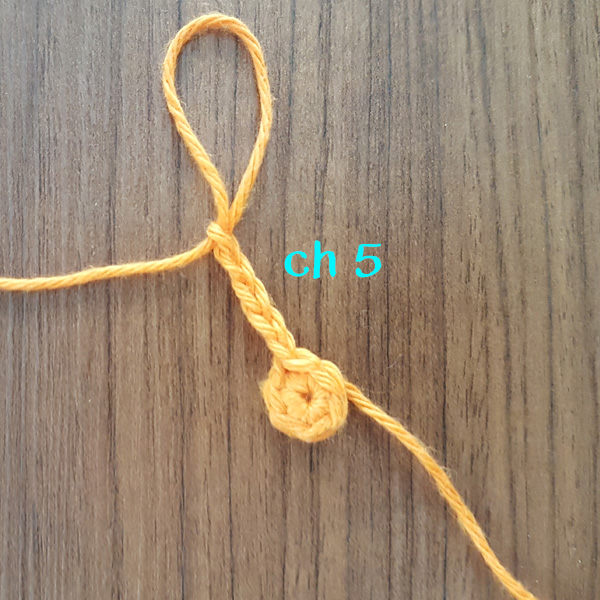
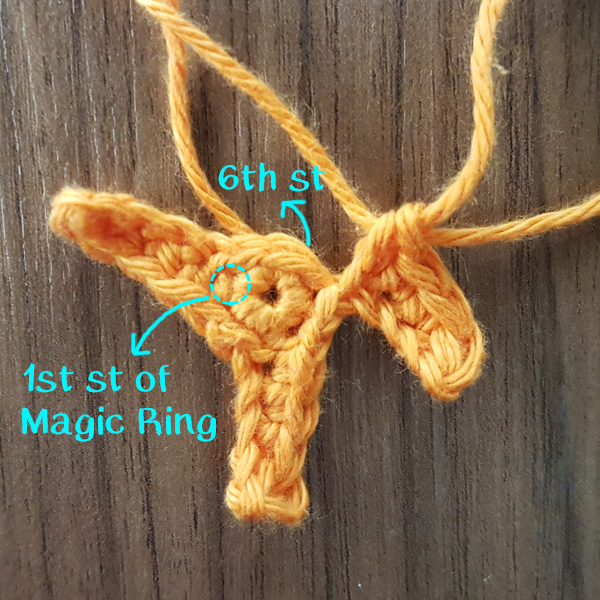
Magic Ring (6), sl st into 1st st of Magic Ring to end round,
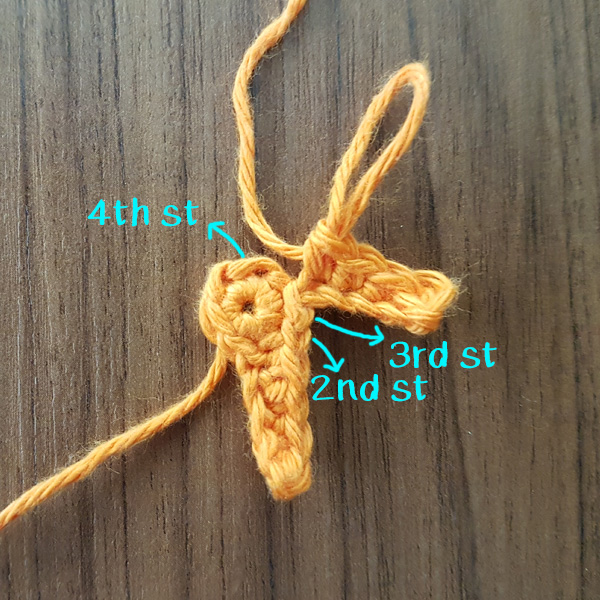
Step 1: ch 5, sc into 2nd ch from hook, sc in next 3 sts, sl st into 2nd st of magic Ring,
Step 2: sl st into next st, ch 5, sc into 2nd ch from hook, sc in next 3 sts, sl st into 4th st of Magic Ring,
Step 3: sl st into next st, ch 5, sc into 2nd ch from hook, sc in next 3 sts, sl st into 6th st of Magic Ring,
Step 4: sl st into 1st st of Magic Ring to end round
-Tie off and leave a tail
-
- Step 1
-

- Step 2
-
- Step 3
-
- Step 4
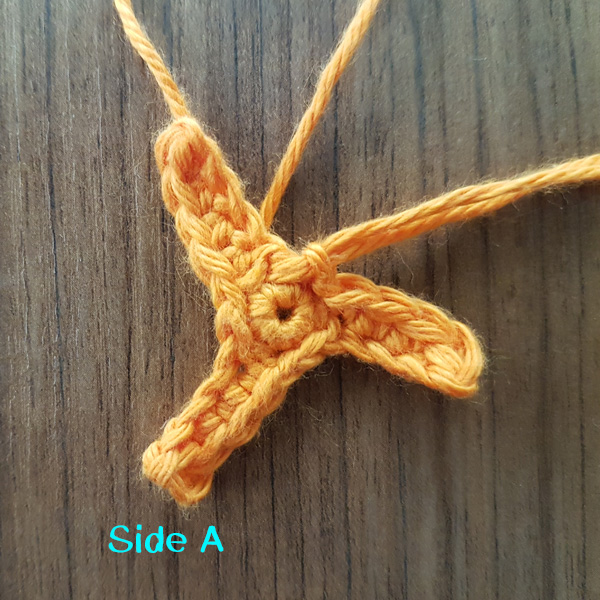
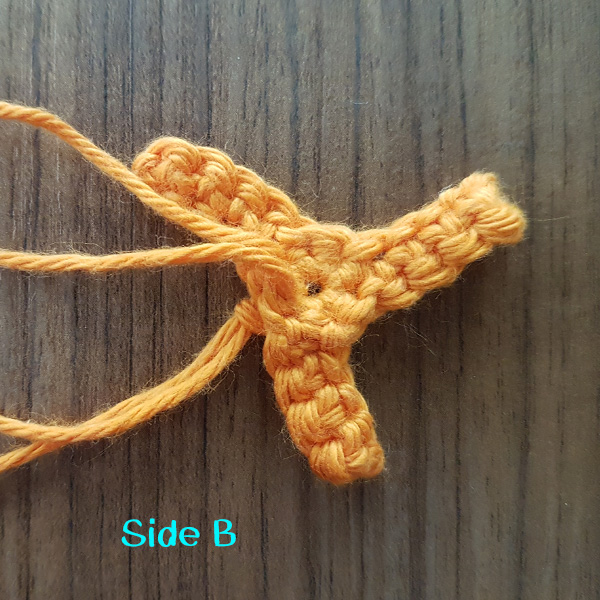
Side A facing upward, sew hair onto the top of the head of Yu-Bird
Beak
Use yellow yarn with 3.5mm crochet hook,
Rd 1: Magic Ring (6)
Rd 2: 2sc in each st around (12)
Rd 3: sc around (12)
Rd 4: *sc in next st, Inc, repeat from * till round ends (18)
-Leave a tail for assembling later and cast off
Eyes for Yu-bird (2 pieces)
Use white lace yarn with 0.85mm lace crochet hook,
Work in crochet rounds,
Rd 1: Magic Ring, sl st (6)
Rd 2: ch 1, 2sc in same st, 2sc in each st around, sl st (12)
Rd 3: ch 1, sc in same st, Inc, *sc in next st, Inc, repeat from * till round ends, sl st (18)
-Leave a tail for assembling later and cast off
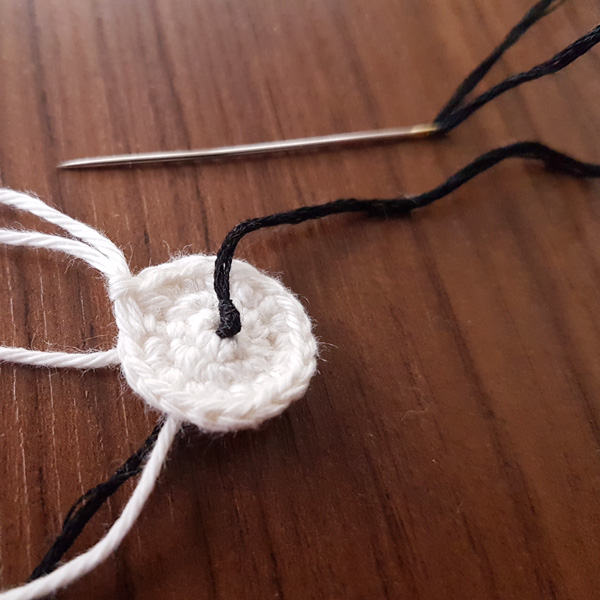
Use black embroidery thread to sew a knot stitch onto the middle part of the eye:
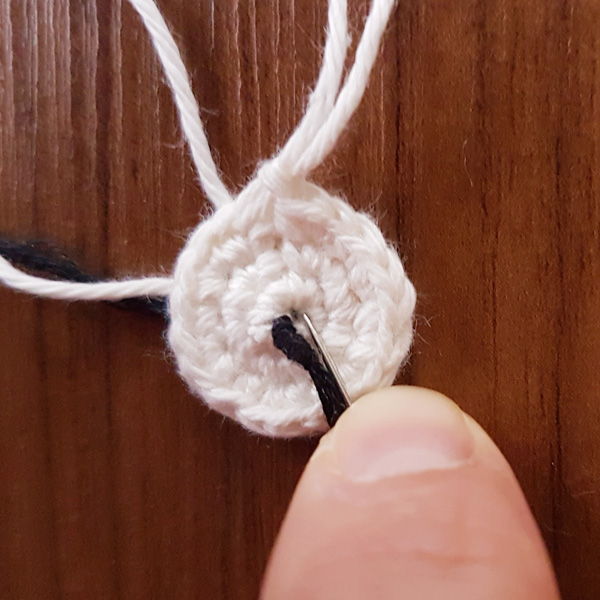
-
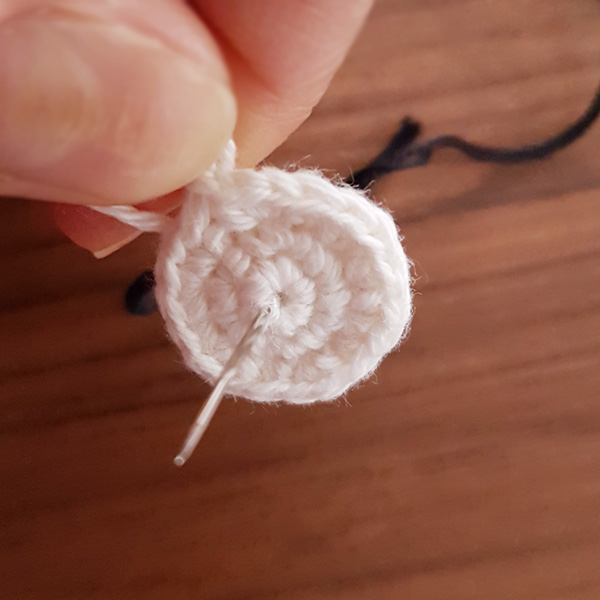
- Insert the needle at the edge of the loop
-
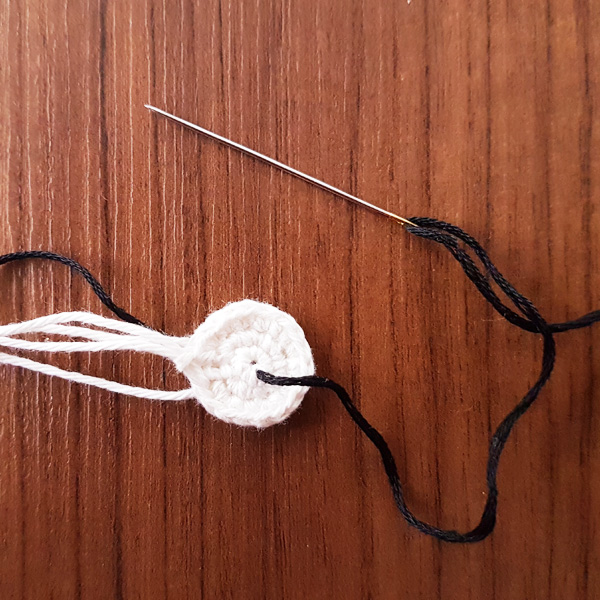
- Pull the thread through
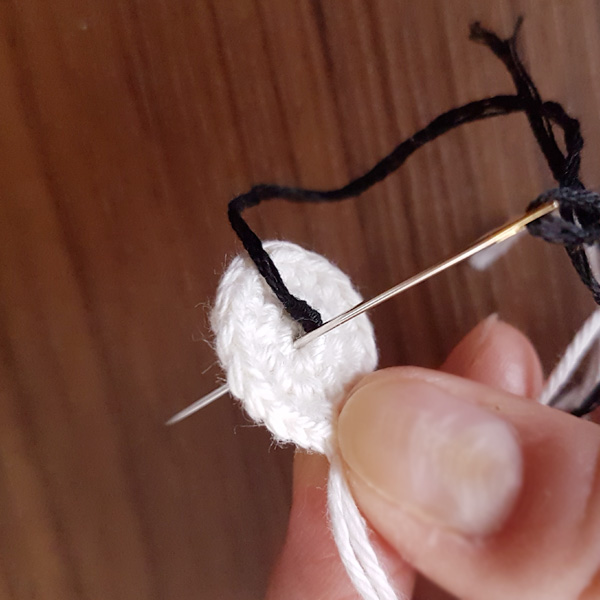
-
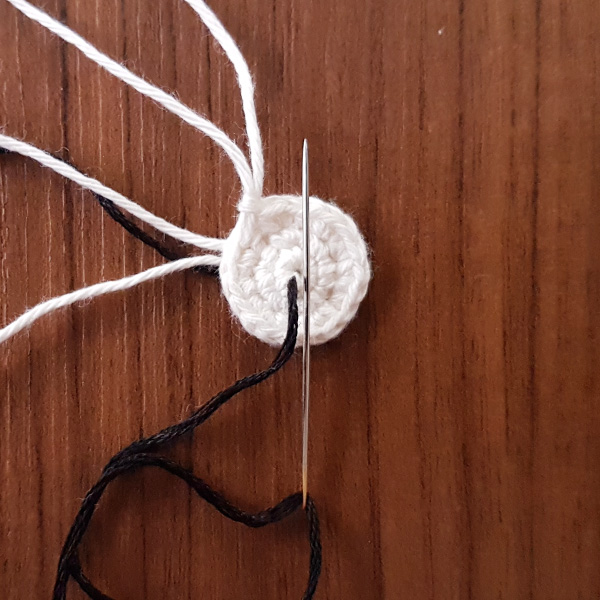
- Thread against the needle
-
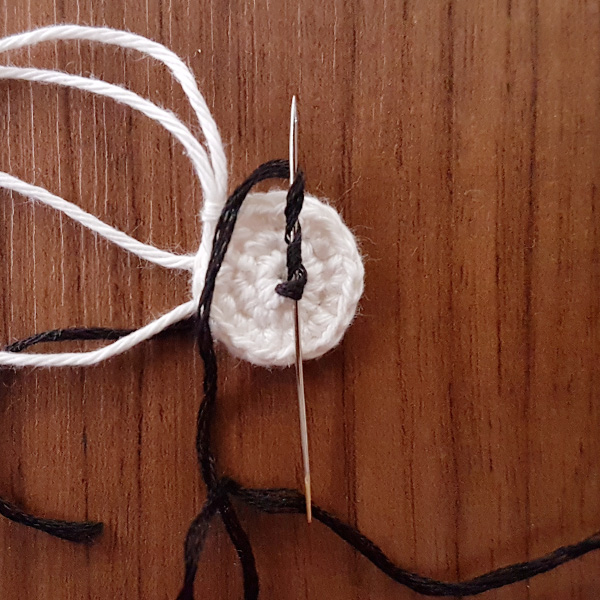
- Wrap the thread around the needle 3 times
-

- Pull up the needle
-
- Push down the knot at the bottom
-
- Insert the needle into the other side of the edge
-
- Pull the needle from the back
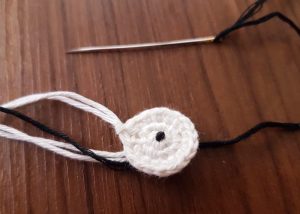
It’s done!
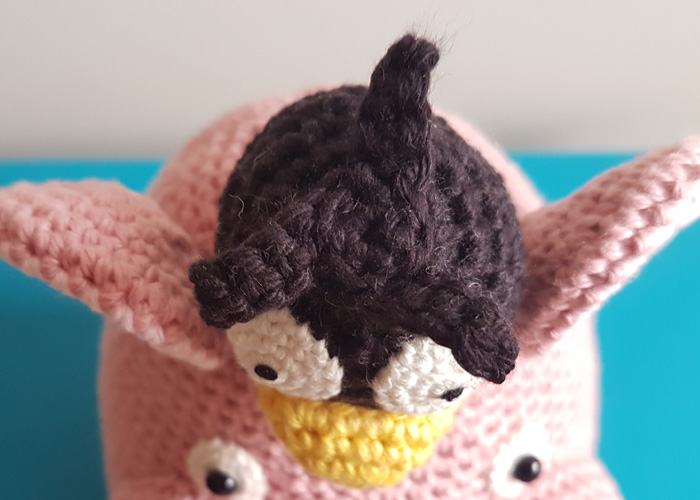
Assemble all parts together –>Fill up the beak with some polyester filling while sewing it onto the body to give it a steady appearance.
At the end, attach Yu-Bird on the top of the head of Boh between the ears.
3 thoughts on “Studio Ghibli Boh Door Stopper (Free Crochet Pattern)”
Leave a Reply
Related posts
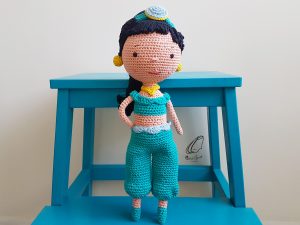
Jasmine Crochet Pattern
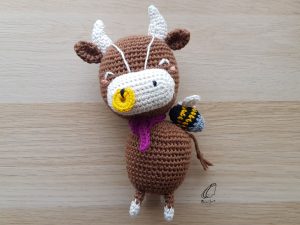
Year of the Ox – Mr. Ox Crochet Pattern

Studio Ghibli Ootori-Sama Door Stopper (Free Crochet Pattern)
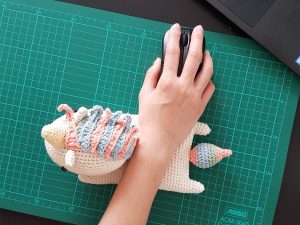
Unicorn Crochet Wrist Rest Cushion (Free Crochet Pattern)
Teddy Jack (Free Crochet Pattern)
X’mas Santa Clause Ornament (Free Crochet Pattern)
Snow White Crochet Pattern
Crochet of Sobble from Pokemon
Mulan Crochet Pattern
Cinderella Crochet Pattern
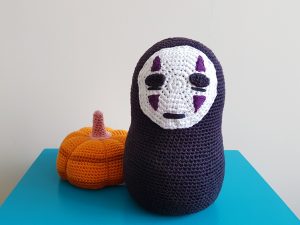
Studio Ghibli No-Face Crochet Door Stopper (Free Crochet Pattern)
Waluigi Crochet Doll / Wrist Cushion
Twitter Bird Crochet Pattern
Ariel Crochet Pattern
Adorable Elephant (Free Crochet Pattern)

Santa Claus Christmas Ornament (Free Pattern)
Basket Weave Stitch Baby Blanket
Lion Head for Lion Dance (Free Crochet Pattern)
Mini Elf Christmas Ornament ( Free Pattern)
Hot Air Balloon Crochet Pattern

Popular Posts
 Unicorn Crochet Wrist Rest Cushion (Free Crochet Pattern)
  Crochet Magic Ring for Beginner
  Jasmine Crochet Pattern
  Lion Head for Lion Dance (Free Crochet Pattern)
  Crochet Round: Magic Ring ends with Slip Stitch
 Products
-
 Year of the Ox - Mr. Ox C...
$5.00
Year of the Ox - Mr. Ox C...
$5.00
-
 Twitter Bird Crochet Pattern
$2.00
Twitter Bird Crochet Pattern
$2.00
-
 Mulan Crochet Pattern
$5.00
Mulan Crochet Pattern
$5.00
-
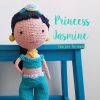 Jasmine Crochet Pattern
$5.00
Jasmine Crochet Pattern
$5.00
-
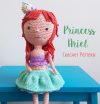 Ariel Crochet Pattern
$5.00
Ariel Crochet Pattern
$5.00
Pingback: Studio Ghibli Ootori-Sama Door Stopper (Free Crochet Pattern) – One Zero Crochet
Pingback: Studio Ghibli No-Face Crochet Door Stopper (Free Crochet Pattern) – One Zero Crochet
Hey very interesting blog!