Materials
2.5mm crochet hook
Size 3 light worsted cotton yarn: Red, White, Yellow, Beige
Tapestry needle
Polyester filling
scissors
Stitch Marker
Abbreviations
MR = magic ring
ch = chain
ard =around
st(s) =stitch(es)
sc = Single Crochet
hdc = half double crochet
dc = double crochet
sl st = slip stitch
Inc = 2sc in next stitch
Dec = join next 2 stitches together

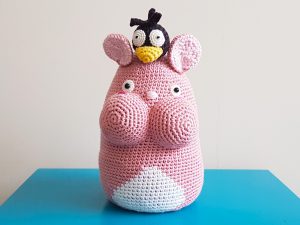
Head & Body
Start with red yarn,
ch 11,
R 1: skip first ch from hook, sc in next 9 back loops of chain, 2sc in last ch, turn clockwise, sc in next 9 front loops of chain [we’re going to crochet on both sides of the foundation chain](20)
Change color to white
R 2: sc ard (20)
Change color back to red
R 3: sc ard (20)
Change color to white
R 4: sc ard (20)
Change color to green
R 5 – 6: sc ard (20)
Change color to beige
R 7 – 10: sc ard (20)
Leave a tail and cast off.
Stuff some polyester filling.
Use tapestry needle, whip stitch across to close the top of the head.
[you may do a few sl st to travel back to the start point of the round]
Weave in ends.
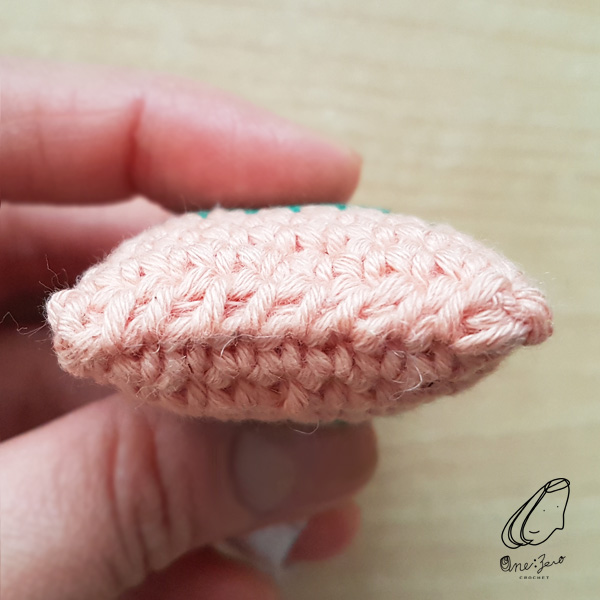
Whip stitch to close the top of the head. 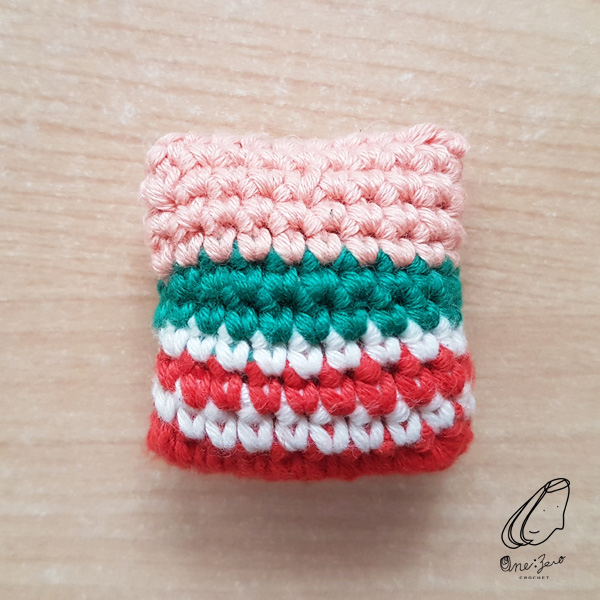
Hat
Use red yarn,
R 1: MR (4)
R 2: {sc, Inc} ard (6)
R 3: {sc, Inc} ard (9)
R 4: sc ard (9)
R 5: {sc 2, Inc} ard (12)
R 6: sc ard (12)
R 7: {sc 3, Inc} ard (15)
R 8: sc ard (15)
R 9: {sc 4, Inc} ard (18)
R 10: sc ard (18)
R 11: {sc 5, Inc} ard (21)
R 12: sc ard (21)
Change color to green
R 13: sc ard (21)
R 14: {hdc, 2dc, sl st} x 7
Secure the end by making a knot, leave a tail for assembly later, and cast off.
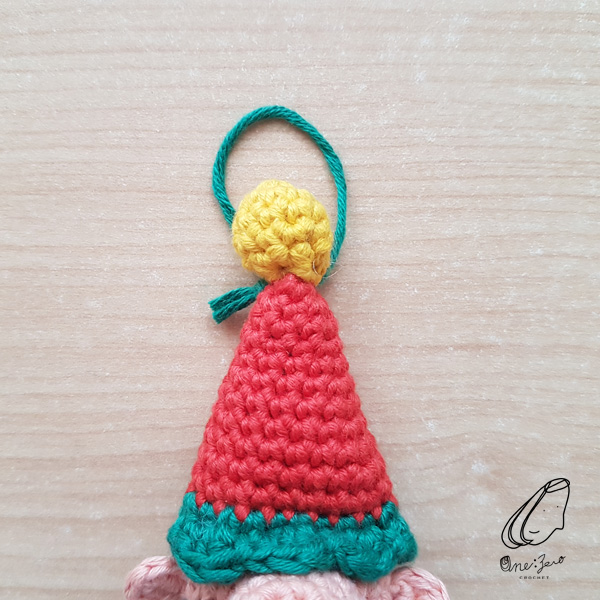
“Pompom” on the top of the hat
Use yellow yarn,
R 1: MR (5)
R 2: 2sc in each st (10)
R 3 – 4: sc ard (10)
R 5: Dec ard (5)
Stuff filling, leave a tail for assembly later and cast off.
Ear (Make 2)
Magic ring (5), sl st,
Leave a tail and cast off.
Nose
Use beige yarn,
R 1: MR (7)
R 2: 2sc in each st ard (14)
R 3 – 4: sc ard (14)
Leave a tail for assembly later, and cast off.
Final Assembly
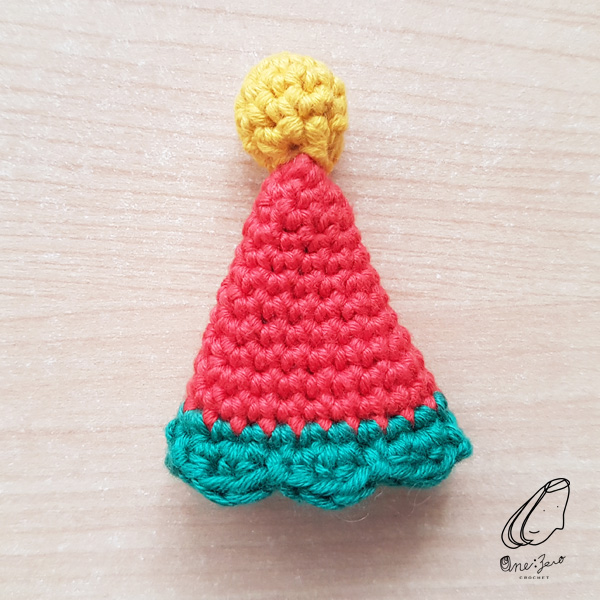
1, Sew the pompom on the tip of the hat. 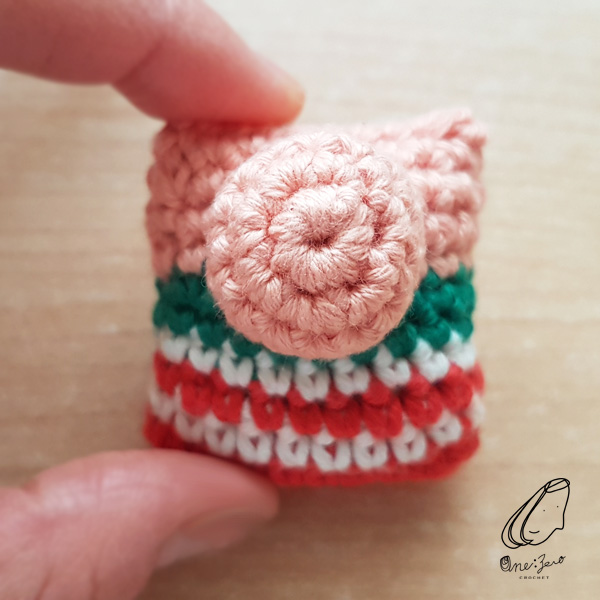
2, Stuff filling and sew the nose on the middle top section of the head/body. (Between R 6 – 9) 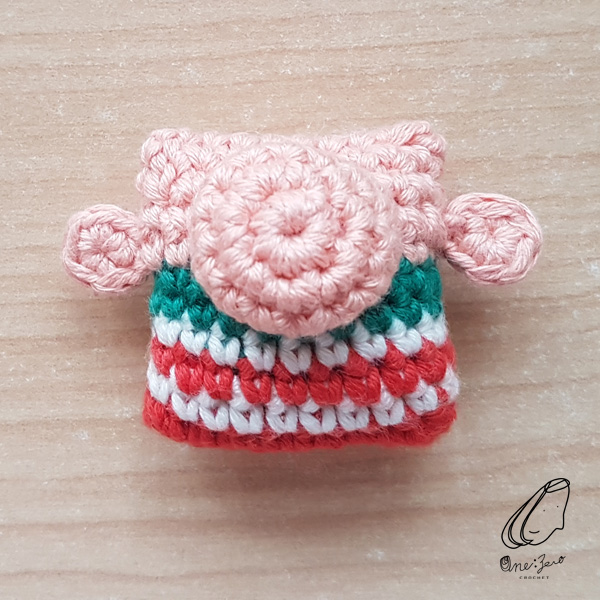
3, Attach the ears on both sides of the head. (Between R 7 – 8) 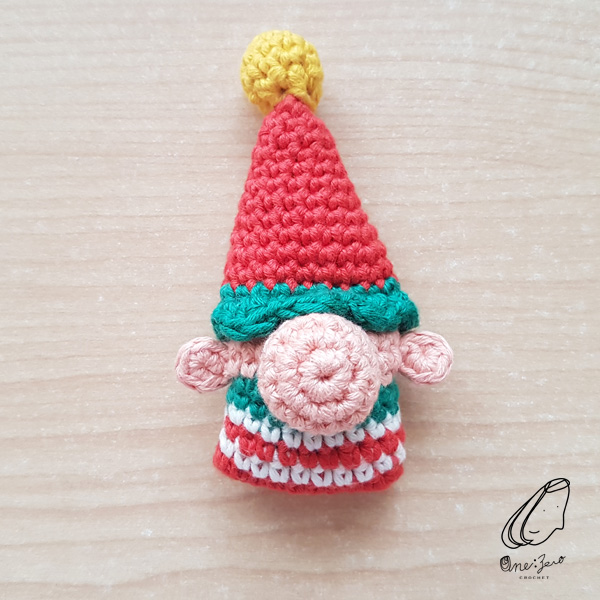
4, Finally, stuff a bit of filling and join
the hat to the top of the head.
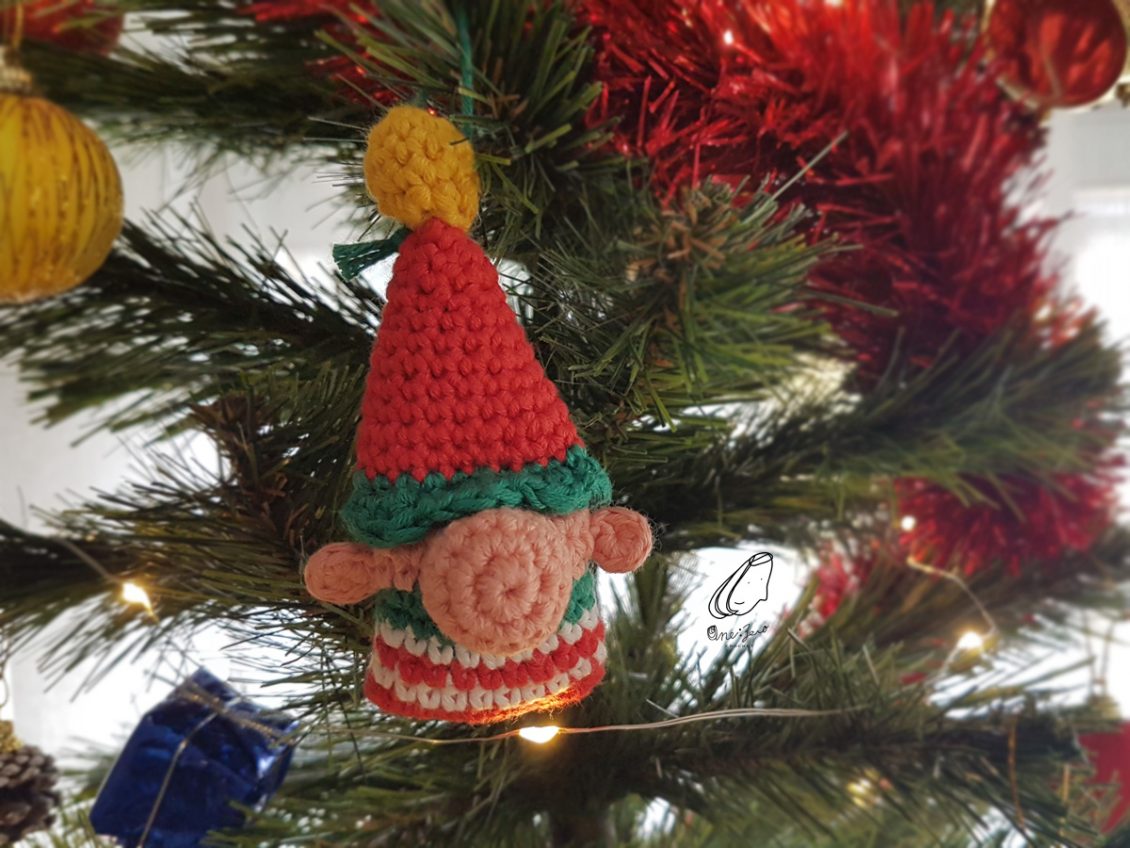
hang up the elf on the tree!
If you’ve missed the Santa Claus Christmas Ornament free pattern, click HERE to check it out! Merry Christmas!!
Related posts

Studio Ghibli Ootori-Sama Door Stopper (Free Crochet Pattern)
Jasmine Crochet Pattern
Crochet of Sobble from Pokemon
Year of the Ox – Mr. Ox Crochet Pattern
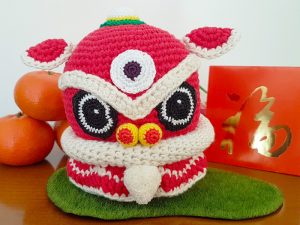
Lion Head for Lion Dance (Free Crochet Pattern)
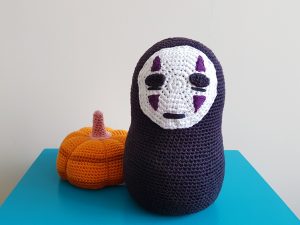
Studio Ghibli No-Face Crochet Door Stopper (Free Crochet Pattern)

Mulan Crochet Pattern
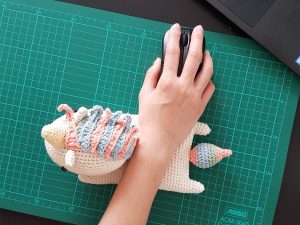
Unicorn Crochet Wrist Rest Cushion (Free Crochet Pattern)
Hot Air Balloon Crochet Pattern

Santa Claus Christmas Ornament (Free Pattern)
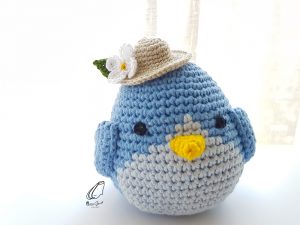
Twitter Bird Crochet Pattern
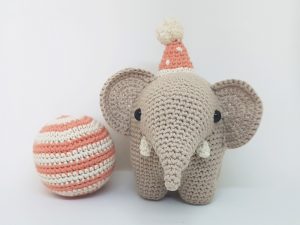
Adorable Elephant (Free Crochet Pattern)
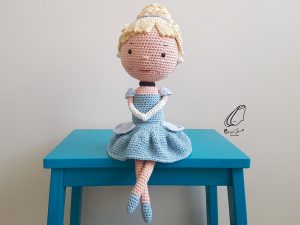
Cinderella Crochet Pattern

Ariel Crochet Pattern
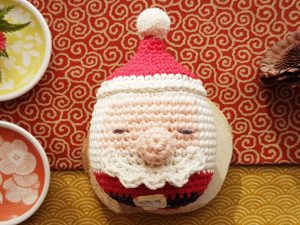
X’mas Santa Clause Ornament (Free Crochet Pattern)
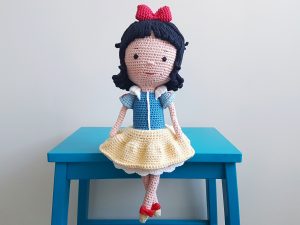
Snow White Crochet Pattern
Studio Ghibli Boh Door Stopper (Free Crochet Pattern)
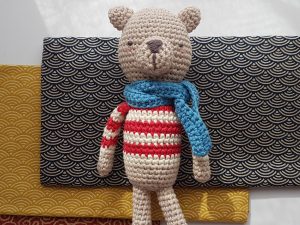
Teddy Jack (Free Crochet Pattern)
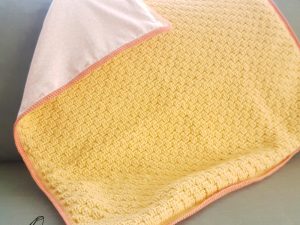
Basket Weave Stitch Baby Blanket
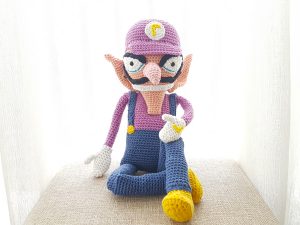
Waluigi Crochet Doll / Wrist Cushion

Popular Posts
 Unicorn Crochet Wrist Rest Cushion (Free Crochet Pattern)
  Crochet Magic Ring for Beginner
  Jasmine Crochet Pattern
  Lion Head for Lion Dance (Free Crochet Pattern)
  Crochet Round: Magic Ring ends with Slip Stitch
 Products
-
 Year of the Ox - Mr. Ox C...
$5.00
Year of the Ox - Mr. Ox C...
$5.00
-
 Twitter Bird Crochet Pattern
$2.00
Twitter Bird Crochet Pattern
$2.00
-
 Mulan Crochet Pattern
$5.00
Mulan Crochet Pattern
$5.00
-
 Jasmine Crochet Pattern
$5.00
Jasmine Crochet Pattern
$5.00
-
 Ariel Crochet Pattern
$5.00
Ariel Crochet Pattern
$5.00