Category: Tutorials
Front & Back Post Single Crochet
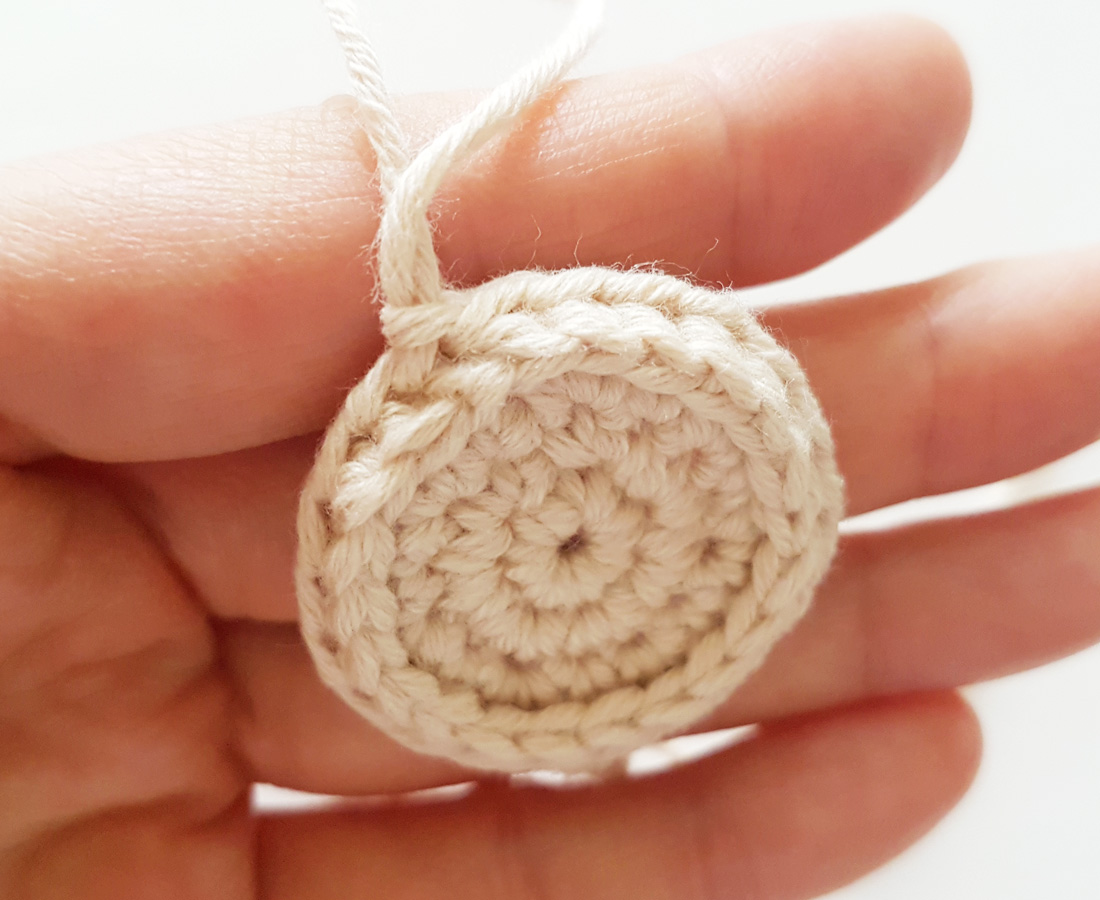
When we do the normal single crochet, it works on the top of a stitch. For the front post single crochet and the back post single crochet, it works on the post below the stitch. The pictures below are going to show you how to make the front & back post single crochet:

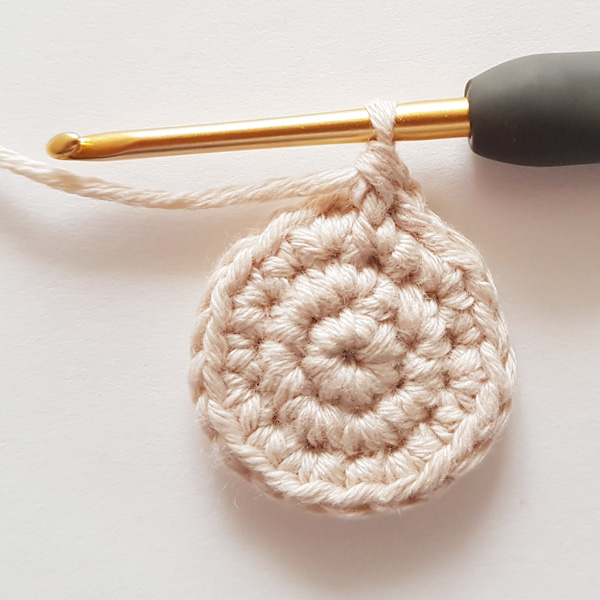
Front Post Single Crochet
Front side of the circle
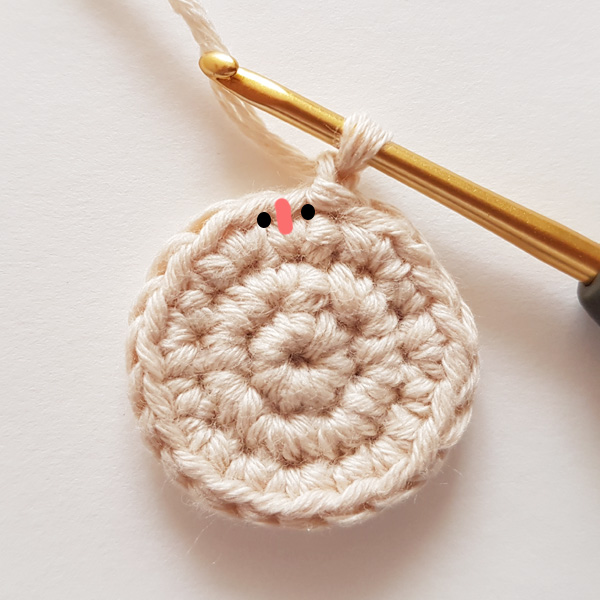
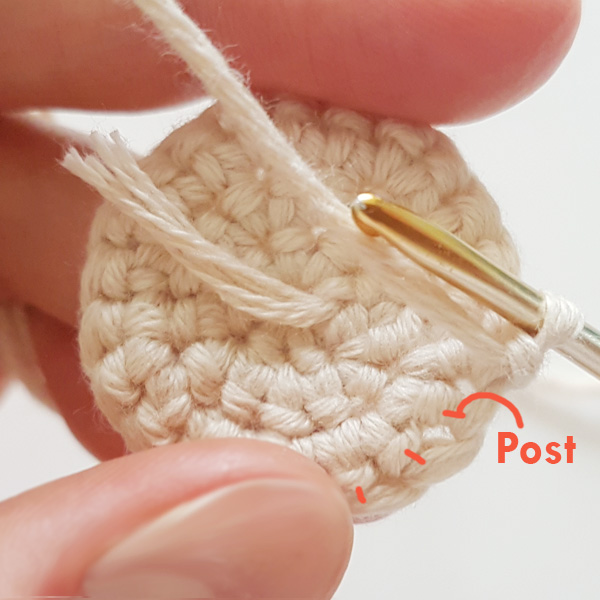
**Black dots=Gaps; Pink line=Post
Yarn over and pull yarn through the post
Insert Hook into the 1st gap from the front to the back and comes back out from the other side of gap of the post
Yarn through the loops and form a single crochet
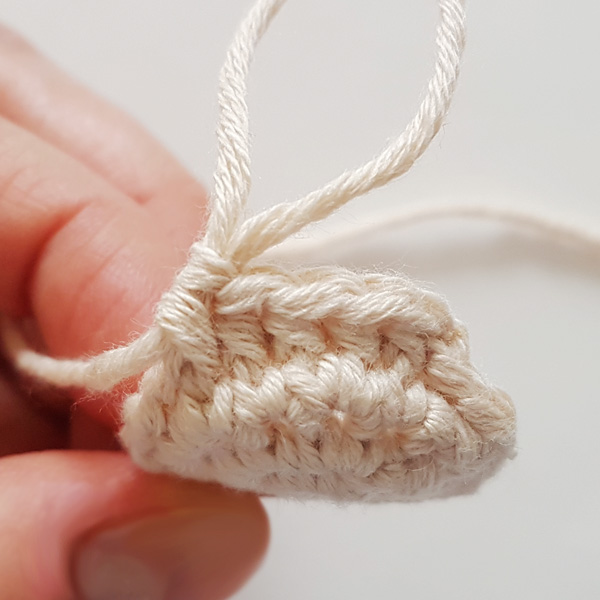
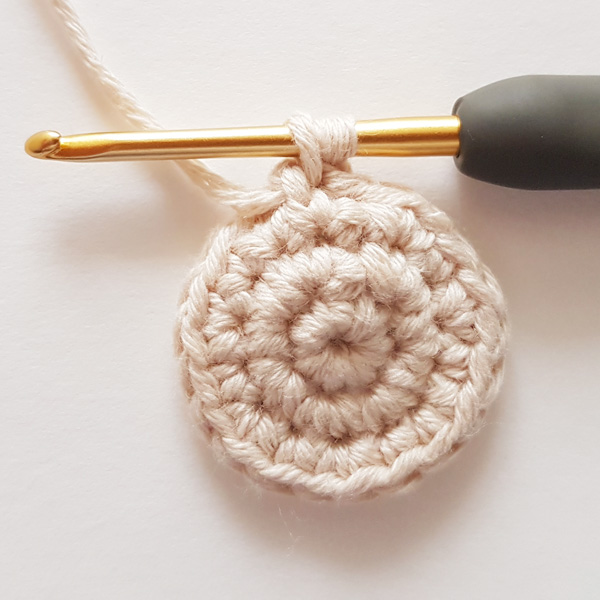
Back Post Single Crochet
Back side of the circle
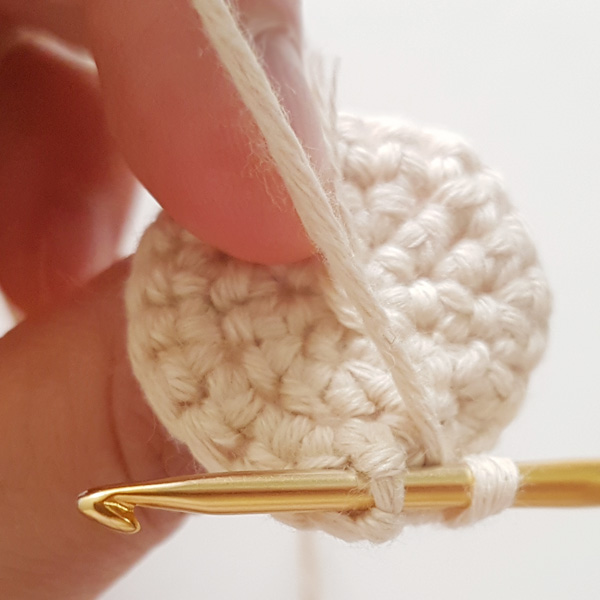
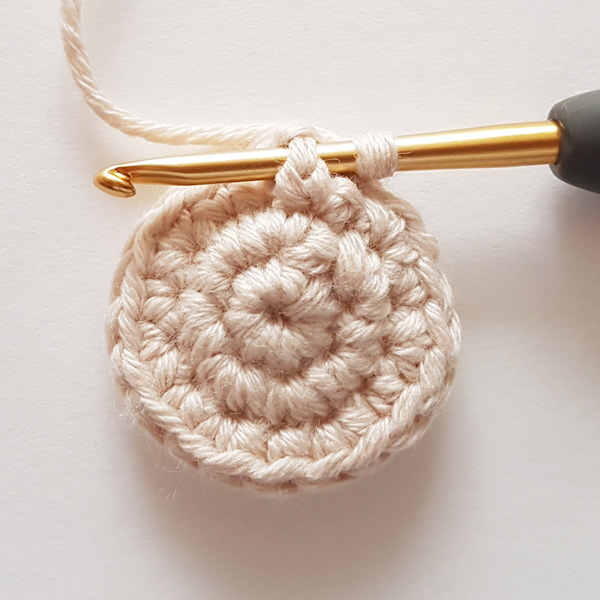
Insert Hook into the 1st gap from the back to the front and comes back out from the other side of gap of the post
Step 3: Yarn over and pull yarn through the post
Step 4: Yarn through the loops and form a single crochet

Crochet Round: Magic Ring ends with Slip Stitch
Now you know how to crochet the magic ring,and here is how to do the Slip Stitch in 3 steps.

Magic Ring (6 stitches)
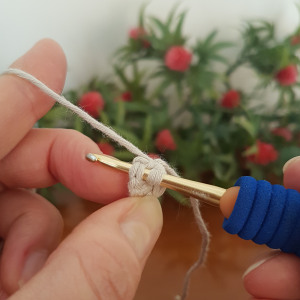
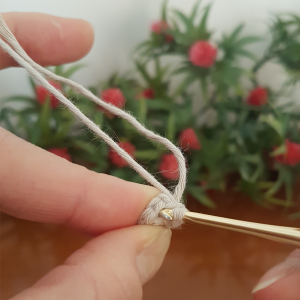
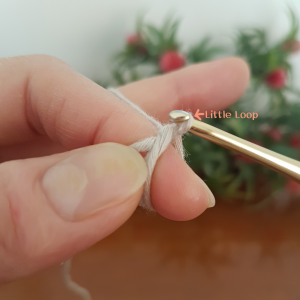
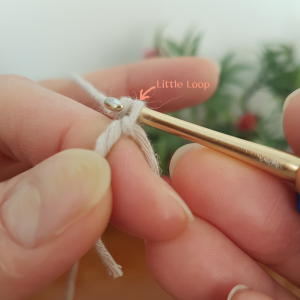
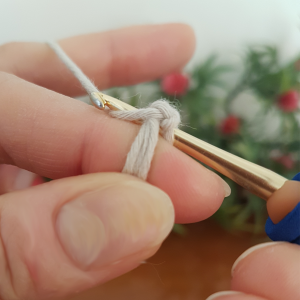
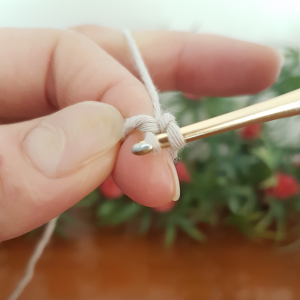
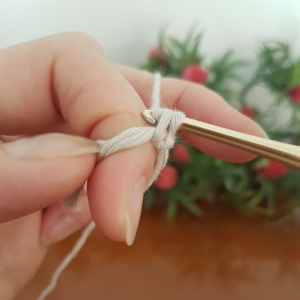
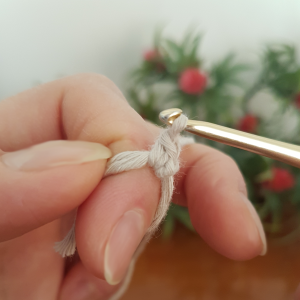
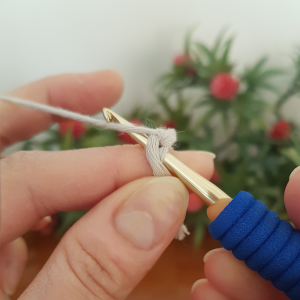
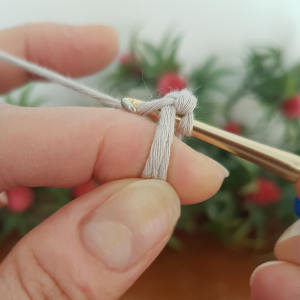
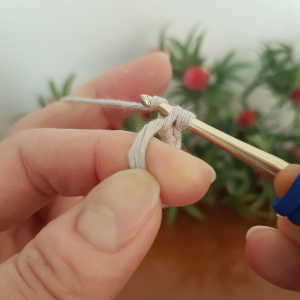
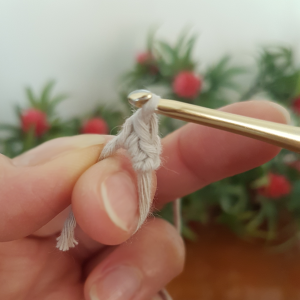
Step 1
Insert the hook into the 1st stitch of the magic ring from the front to the back. [Pic. 1 & Pic. 2]
-
- Pic. 2
-
- Pic. 1
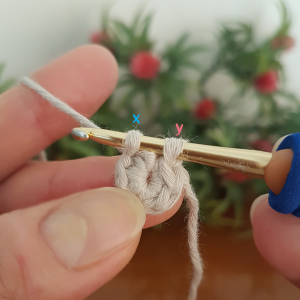
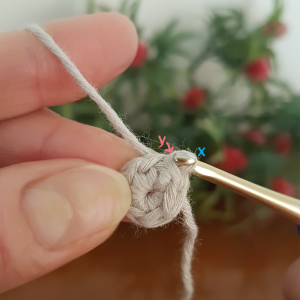
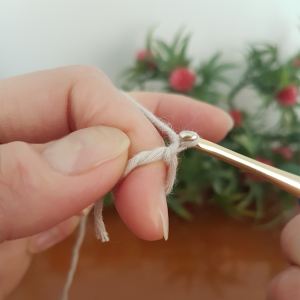
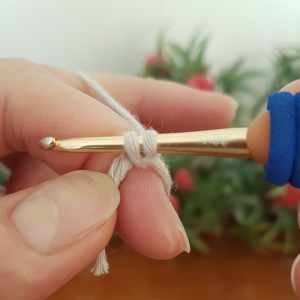
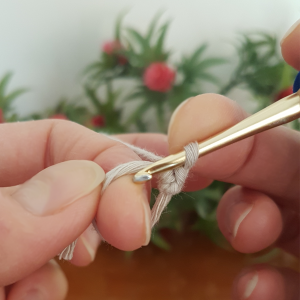
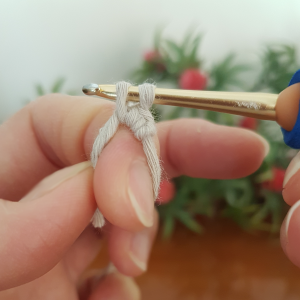
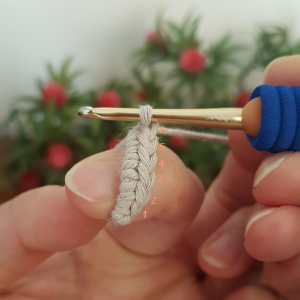
Step 2
Then yarn over, pull the yarn toward the body through the 1st stitch of the magic ring. Now 2 loops are on the hook, X & Y. [Pic. 3]
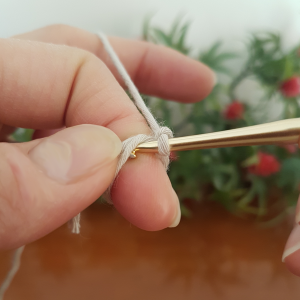
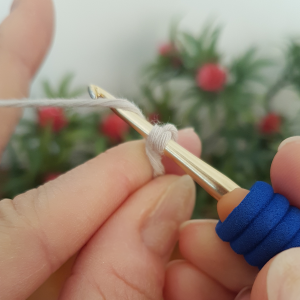
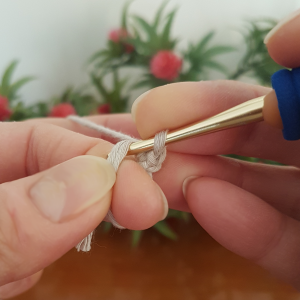
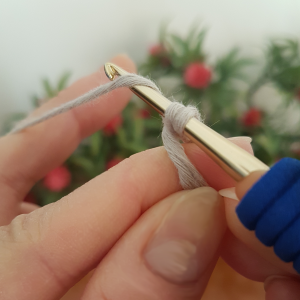
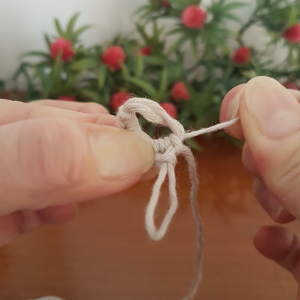
Step 3
Pull loop X through loop Y by the hook. [Pic.4]
-
- Pic. 3
-
- Pic. 4
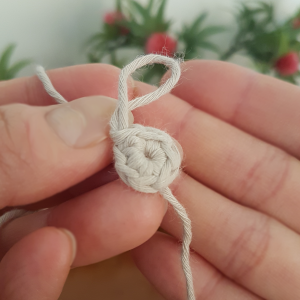
And it’s done! Magic ring ends with slip stitch.
Crochet Magic Ring for Beginner
Let’s make the Magic Ring step by step!
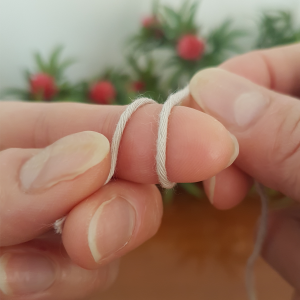
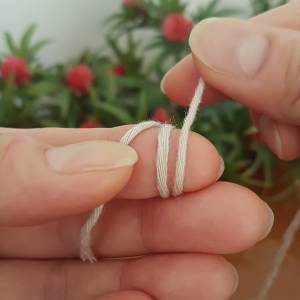
Step 1
Roll the yarn around the index finger 2 times to make 2 big loops
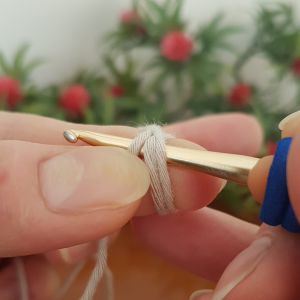
Step 2
Insert the hook underneath the 2 big loops.
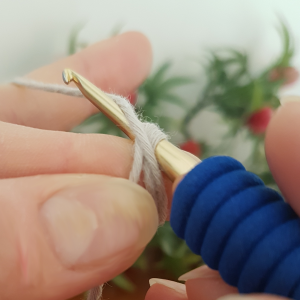
Step 3
Yarn over, pull the yarn toward the 2 big loops and create a little loop.
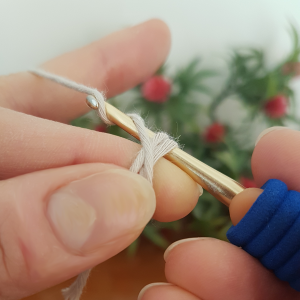
Step 4
Hook at the little loop, yarn over again and pull through the little loop.
Step 5
Go under the original 2 big loops, yarn over, pull through the big loops, and see, there are 2 loops on the hook.
Half way to the first stitch on the magic ring!
Step 6
Now, let’s finish the first stitch.
2 loops on the hook, yarn over, pull the yarn through the 2 loops.
Bravo! the first stitch is done!
Step 7
Let’s practise one more time of how to make a stitch on the magic ring.
-
- Go under the original 2 big loops
-
- Yarn over
-
- Pull through the big loops
-
- 2 small loops on the hook
-
- Yarn over again
-
- Pull through small loops
-
- The 2nd stitch on the magic ring
Step 8
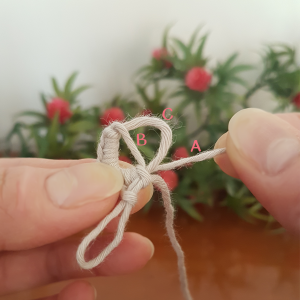
This time we use 6 stitches (it may vary depending on your project) to form the magic ring. Pull a tail to avoid losing a stitch while tightening the ring.

Step 9
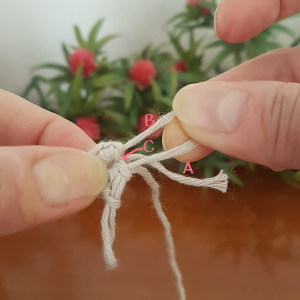
There is another tail which is the beginning of the skein of yarn (A).
Hold A, pull it slighlty till B is half way down (shown as the picture below).
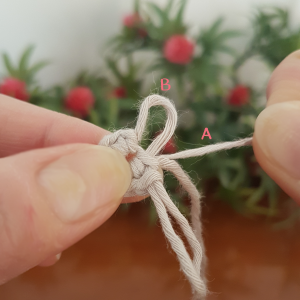
Release A, pull B till C is all the way down.
Release B, pull A tightly.
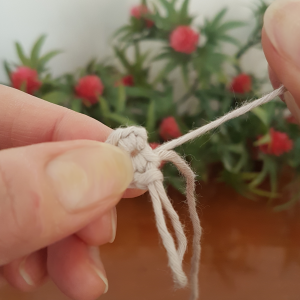
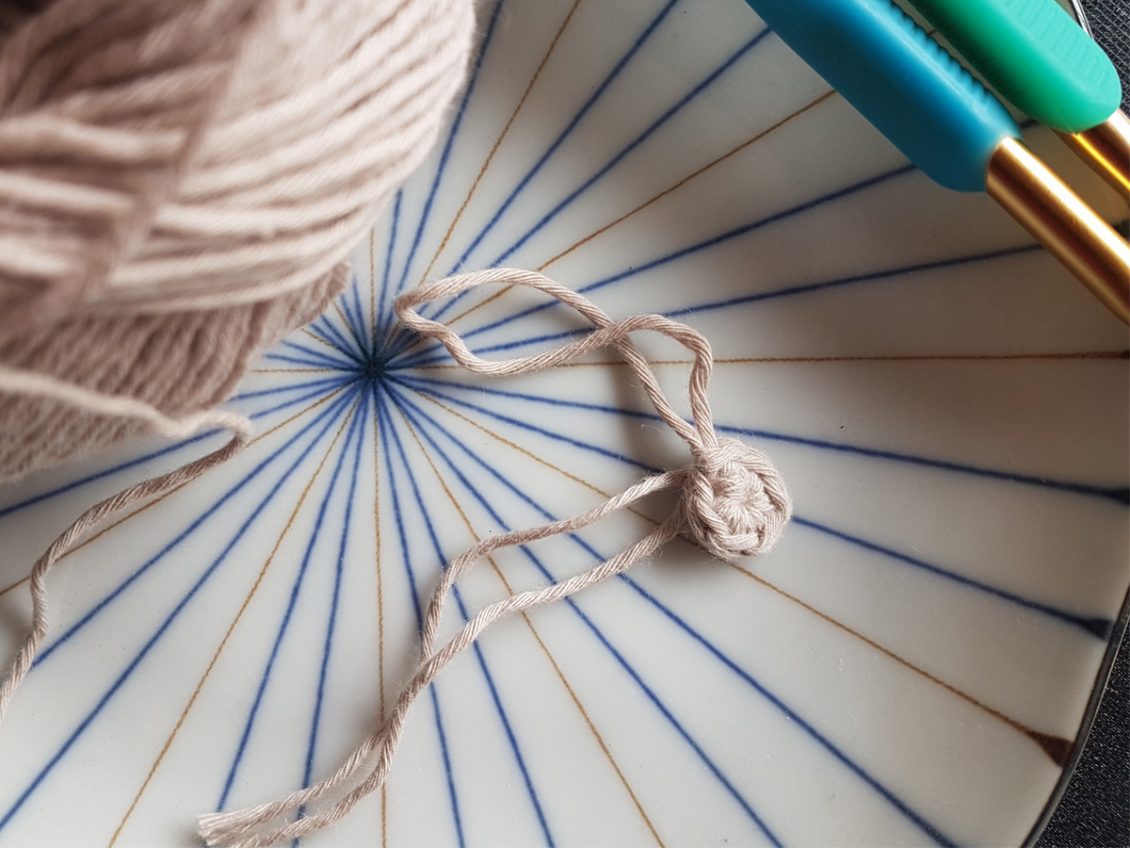
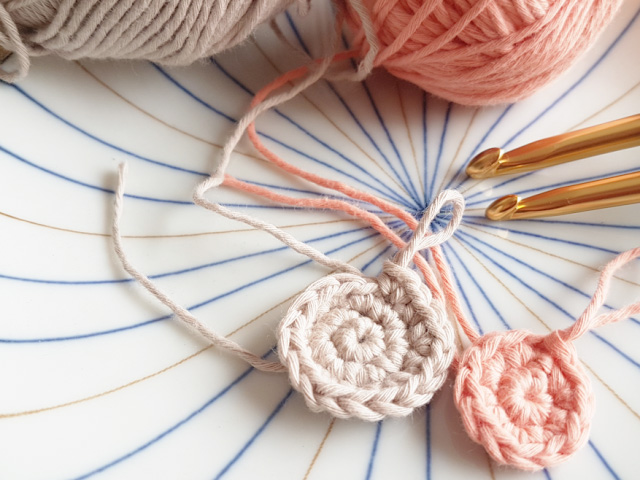
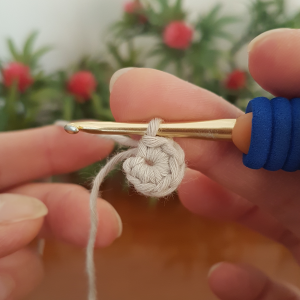
Step 10
Here you are, this is the magic ring. Depending on your project, you may start by slip stitch or spiral crochet method for the next round.
I hope you find this tutorial useful and help you have a smooth start of your crochet journey! Bon Voyage 🙂

Popular Posts
 Unicorn Crochet Wrist Rest Cushion (Free Crochet Pattern)
  Crochet Magic Ring for Beginner
  Jasmine Crochet Pattern
  Lion Head for Lion Dance (Free Crochet Pattern)
  Crochet Round: Magic Ring ends with Slip Stitch
 Products
-
 Year of the Ox - Mr. Ox C...
$5.00
Year of the Ox - Mr. Ox C...
$5.00
-
 Twitter Bird Crochet Pattern
$2.00
Twitter Bird Crochet Pattern
$2.00
-
 Mulan Crochet Pattern
$5.00
Mulan Crochet Pattern
$5.00
-
 Jasmine Crochet Pattern
$5.00
Jasmine Crochet Pattern
$5.00
-
 Ariel Crochet Pattern
$5.00
Ariel Crochet Pattern
$5.00